The Windows 8.1 Start Screen has a lot of customization that you can do to arrange your icons into logical groups to find things quicker on your PC or tablet. Did you know however that you can name these groups as well? While it isn’t required, it is another way that you can personalize your Start Screen a little bit more to your liking. In this How To I will show you just how to do this and it is literally a single click.
Let’s start first with the basics to make sure everyone is up to speed. To add an app to your Start Screen, go to your Apps list and the right click it (or tap and pull down) to highlight it. You will then see the menu at the bottom of the page where one option is to Pin it to your Start screen. Once on your Start screen you can drag and drop the apps into logical groups to your liking.
Once you have your apps laid out the way you want, now you can label those groups. Anywhere on the Windows 8.1 Start Screen, right click or go to the bottom of your touch screen and swipe up to bring up the Customize
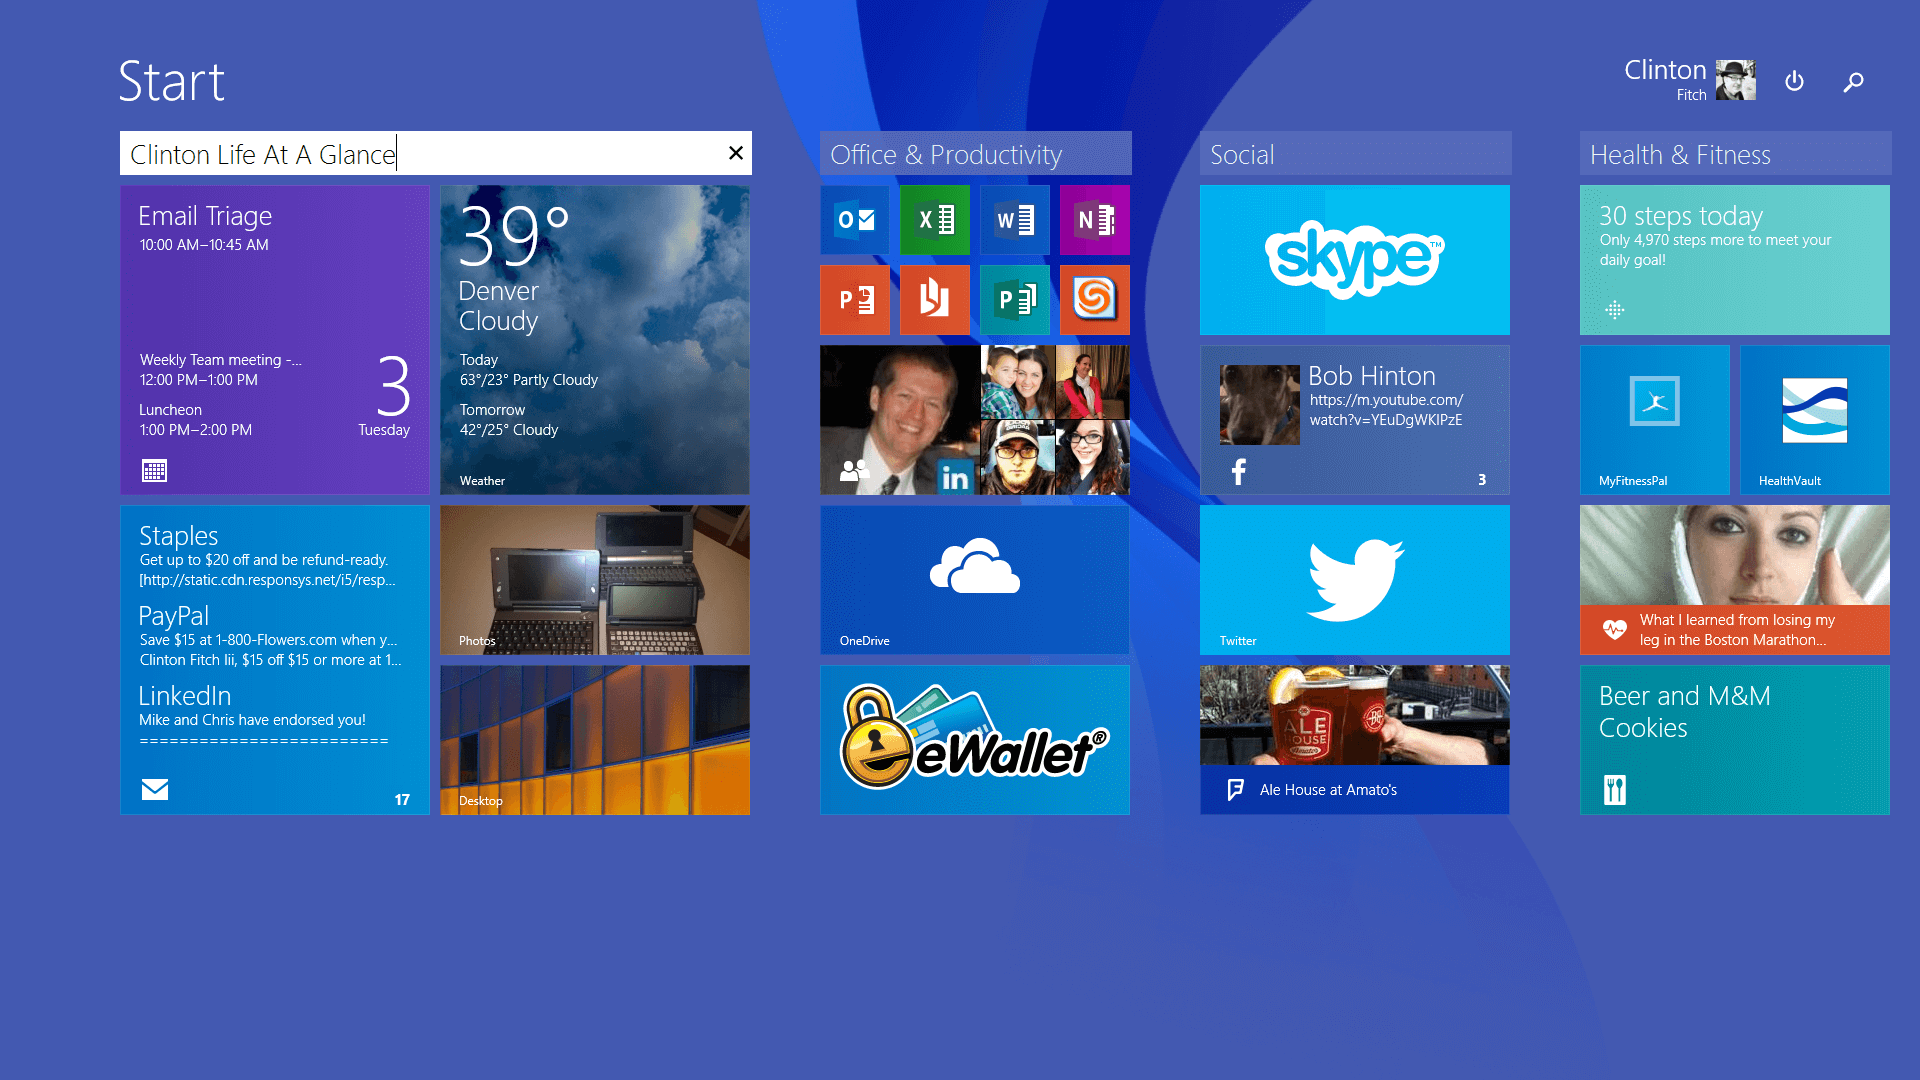
Naming Groups on the Start Page in Windows 8.1
option. If you right-click you will see the option to Name Groups. Click on it and you will now see text boxes over each of the groupings of apps on your Start Screen. Simply type in what you want the name of that group to be, press Enter and you are set.
The ability to name groups of apps is a nice-to-have and certainly is not a requirement.
For more How To’s for Windows, be sure to check out my How To page for Windows and its sister page for Windows Phone.
Have a How To tip or trick? Drop me a line using the Contact page and let me know. I will make sure you get mentioned as the source of the How To in the post.