One of the more powerful features of Android is the Do Not Disturb function. It is a feature that has grown in functionality over the life of Android Lollipop and Marshmallow (spoiler alert: It gets further tweaks in N) for keeping your phone quite while you sleep, at the theater or in a meeting. Did you know though that you can set up a DND for events from your calendar? It is a feature that is handy by not requiring you to manually turn on Do Not Disturb before a meeting begins. In this How To I’ll show you how to set it up.
First, go to the Do Not Disturb function in Settings. This is found in Settings>Sounds & notifications>Do not disturb on your phone or tablet. Once there tap the Automatic rules section then tap on the Add rule section on the next page. You’ll be prompted to name the rule so name it something friendly then tap OK. Now you are in the settings of the rule itself and you’ll see that you have a good amount of customization available.
First, you can select which calendar the rule needs to use to determine when to enable or disable automatically. This can be a specific calendar or you can set it for all of your calendars. In my case, because I have two calendars (my Google Calendar and my work Exchange-based calendar), I set it up for any calendar as I have events in both of
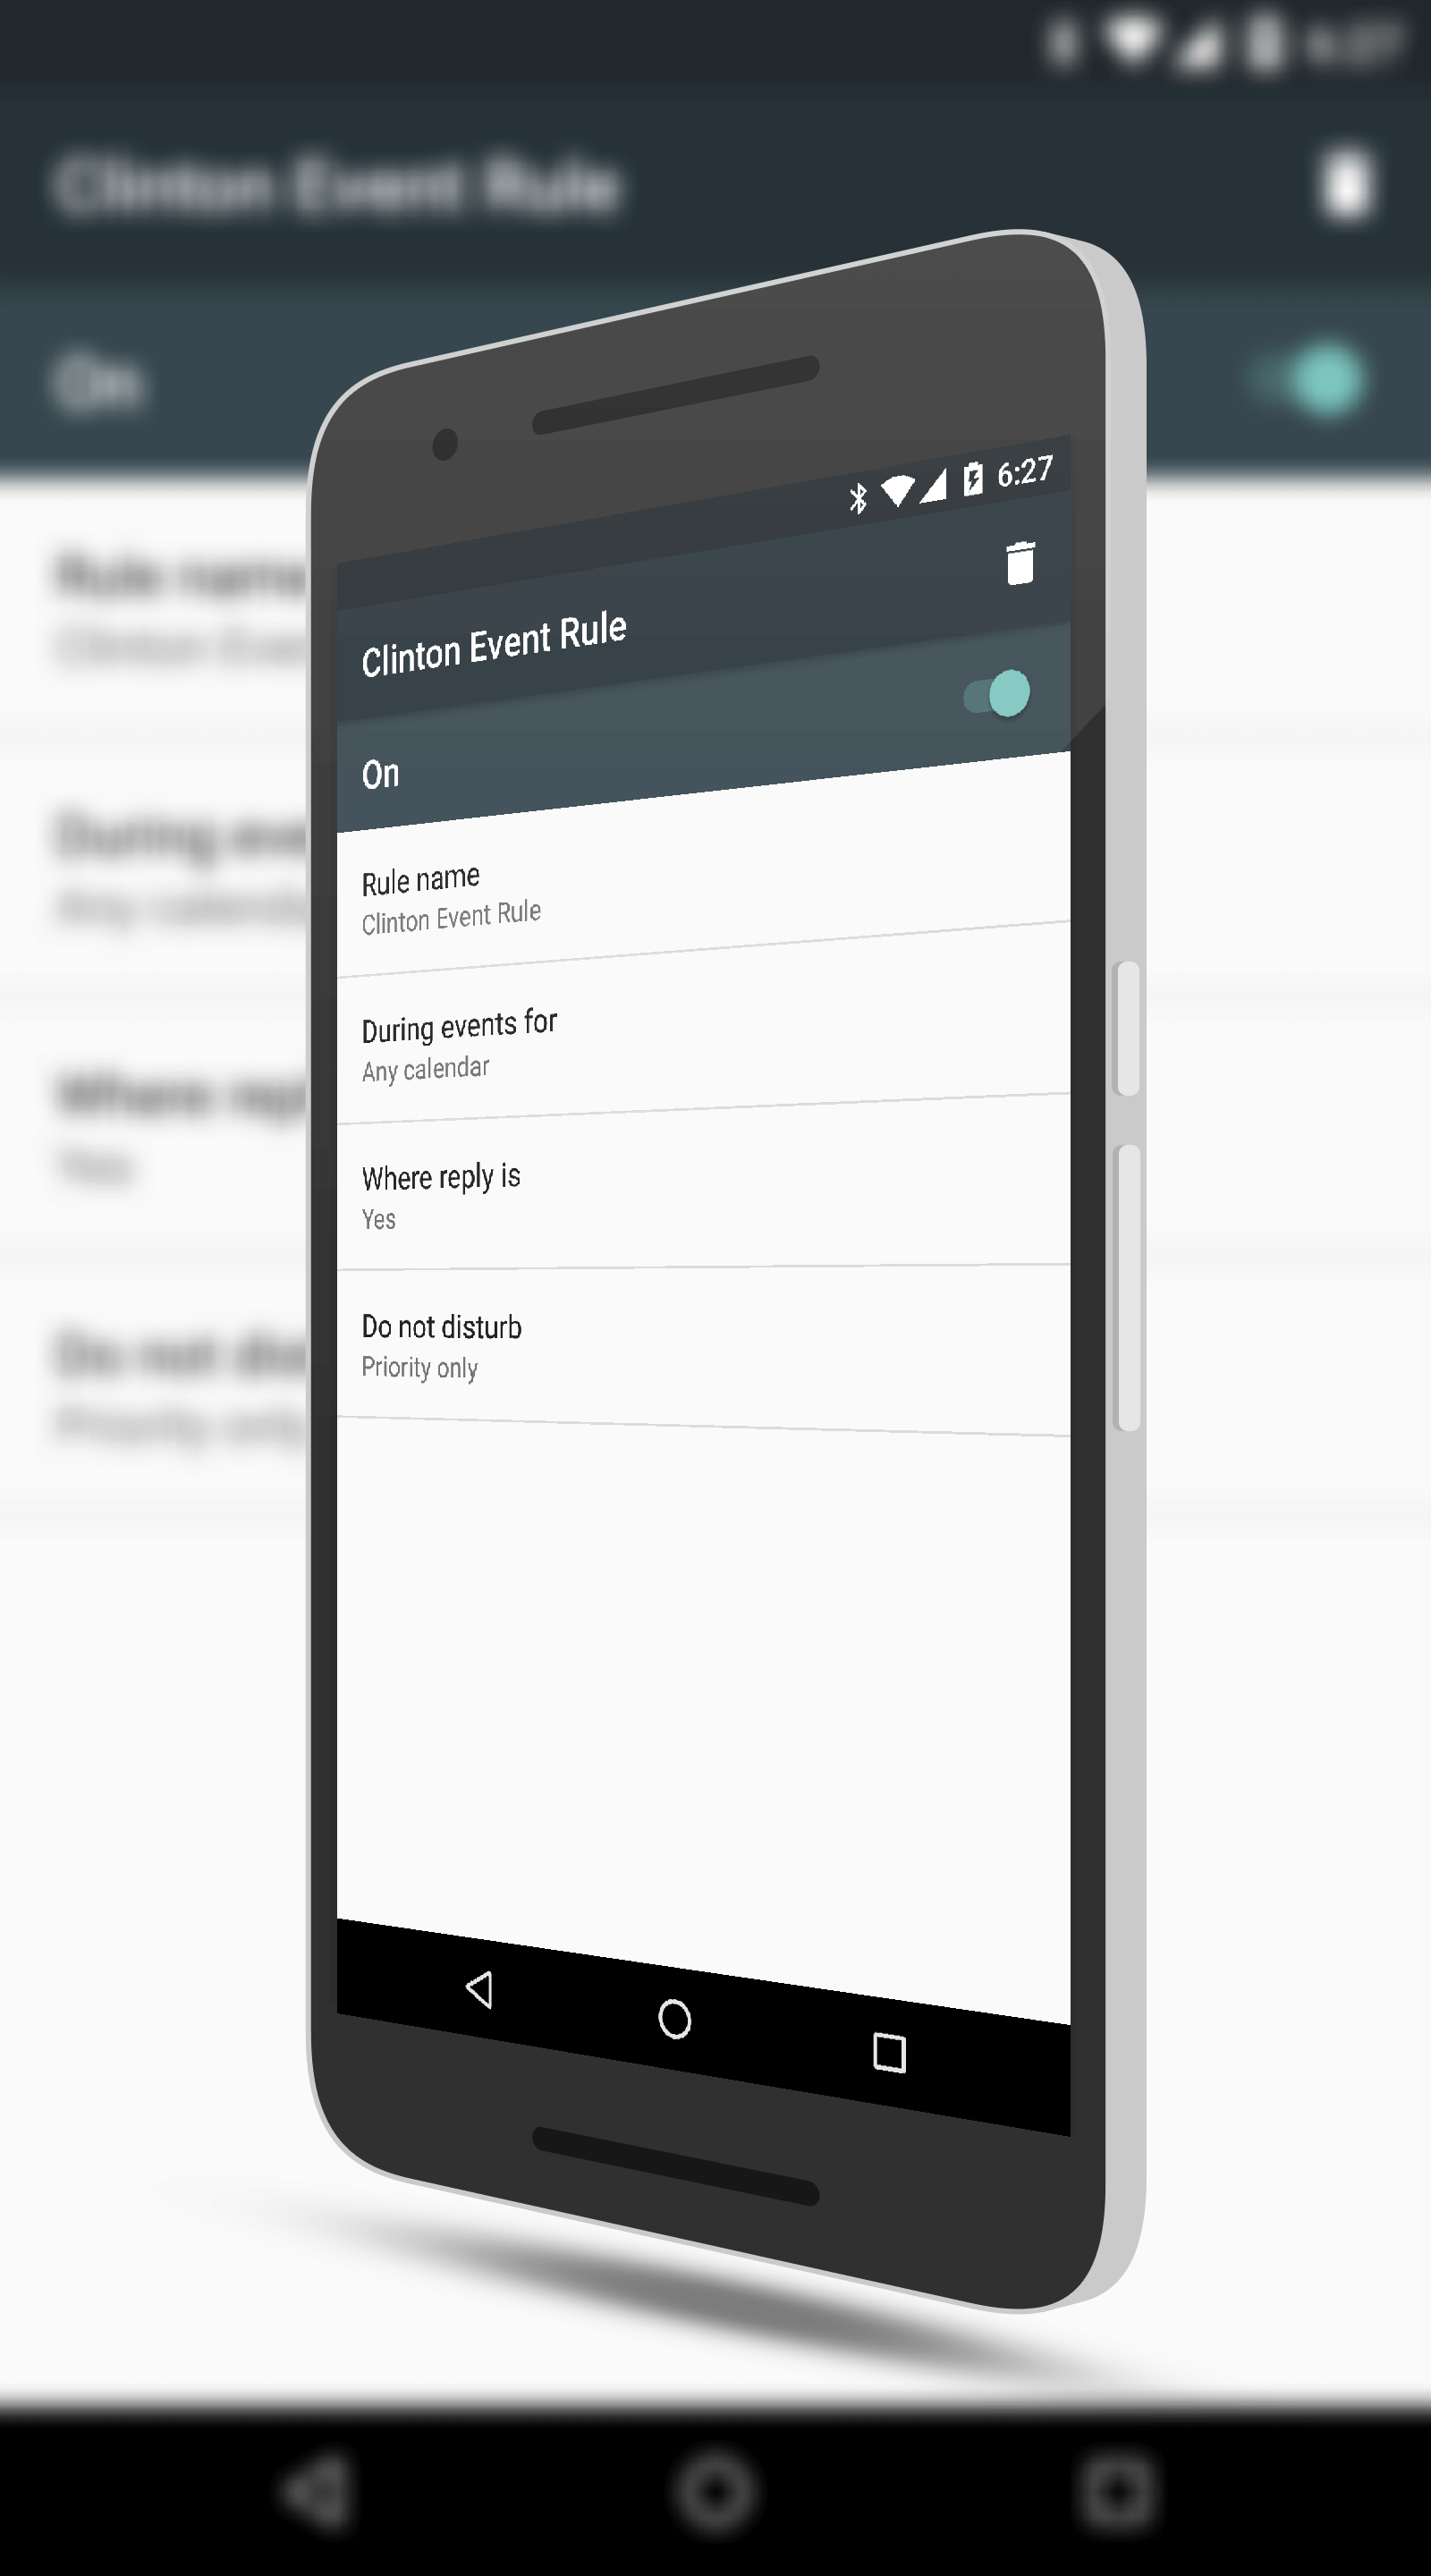
Event Based Do Not Disturb in Android
them. Next, you can determine which events to enable the rule based on your response to that event. You can set this one of three ways:
- Only events where you replied yes
- Only events where you replied yes or maybe
- Events where you replied yes, maybe and ones that you have not replied to just yet
Which of these is best for you is going to depend on how you manage your calendar. I personally set mine up to only enable the rule for events in which I have replied yes to attending. For me, because I put work time holders in my calendar for work tasks, I don’t necessarily want to have my phone go into DND during those times. For example, if I put a holder in to work on expenses, I don’t mind an interruption of a call or email. Again, how you need to set it up will depend on how you work so play around with it a bit to see what works best.
Finally, there is the type of items that you will allow through your rule. You can set this to priority only, alarms only or total silence. In my case, because I’ve enabled priority allows for my wife to text me and it get to me no matter what, I have set it to Priority only. Again, use this How To as a guide for what you need to set for yourself.
Once you have your rule defined, tap the back button and your rule is set and ready to go. You can disable the rule by going back into it and using the toggle switch at the top to turn it off or on. You may have to do a bit of adjusting to get it to work the way you want it to on events but once you have the rule created, it is just a matter of tweaking it to meet your needs.
For more tips and tricks, be sure to check out the How To section of the site. There you will find guides for Chrome OS, Android and Windows Phone.
Thank you for the article. How did you get the settings to recognize your Exchange calendar? In the Automatic rules, I have the name of my Gmail calendar and “any calendar”. However, my work meeting event didn’t trigger any “Total Silence” and my phone went off during my boss’s presentation. I have the Microsoft Exchange app installed on my Nexus 6P running Android 6.0.1.
Ron,
I believe that because the Outlook app treats the calendar self contained, you would have to setup the rule to prevent any app interruptions. AFAIK, it does not feed the calendar information to the Android system which is what drives the calendar notifications.
Clinton