Like most devices today, it is pretty easy to take a screenshot on a Chromebook. Why would you want to take a screenshot? A lot of reasons. You may need to show a friend how to do something on their Chromebook (like, oh, show them how to take a screenshot 🙂 ) or if you need tech support from Google. Taking the screenshot is easy enough but getting it moved to your Google Drive take a bit more. I’ll guide you through.
First, to take the screenshot itself, press the Ctrl key and the multi-window key (the on just above the 6 & 7 keys) at the same time and a screen capture of what you are viewing will be taken. You will also see a notification pop up letting you know that it was taken. You can click on that to open up the Files app.
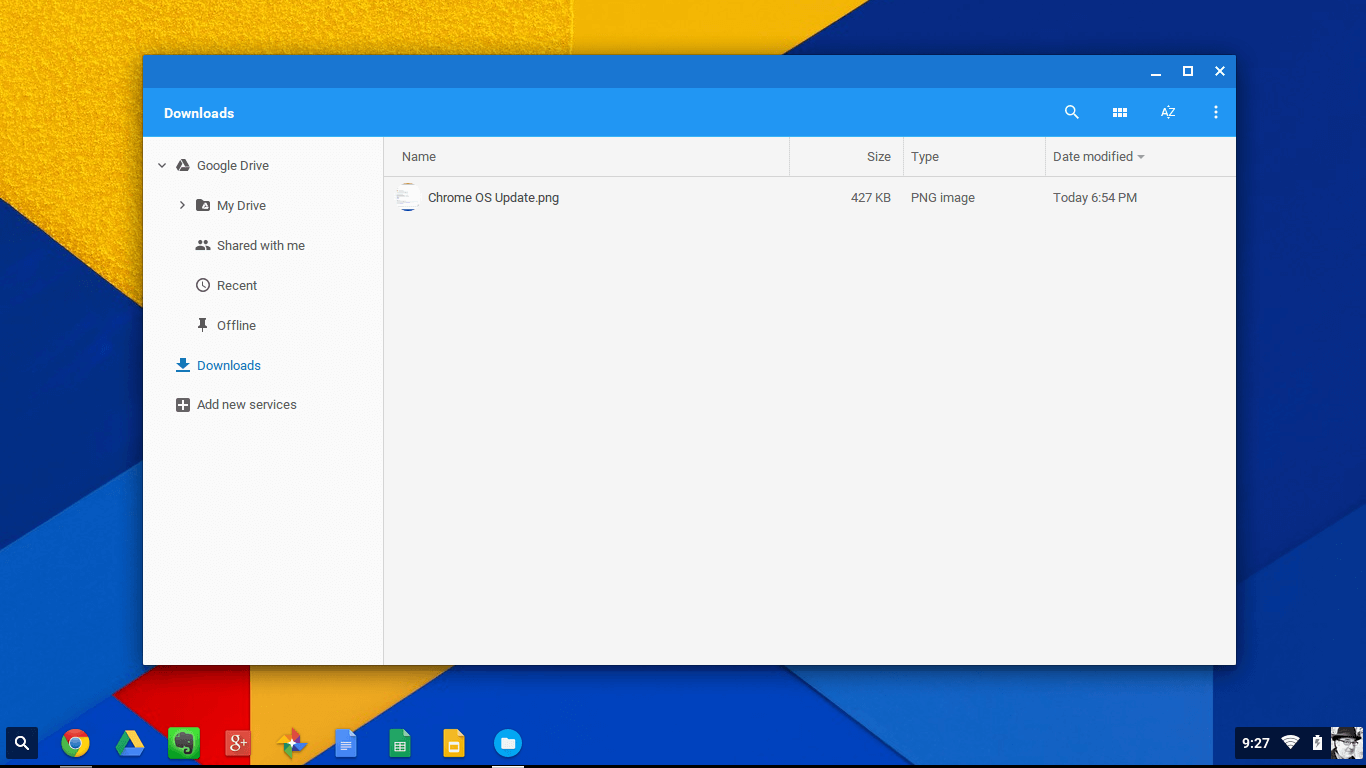
Downloads Folder in Chrome OS
If you open up Files you will note that the screen capture has been sent to your Downloads folder. The files will be PNG files and will have a date-time stamp for the file name. Within Files you can move the screen capture to your My Drive (your Google Drive) folder and it will sync up with your storage there so you can access it from your PC, Android phone or tablet or Mac that has access to your drive. You can also right-click the file and rename it to something a bit more useful before or after you move it to My Drive.
If you have multiple screenshots, you can also zip them in Files which you can then upload to your Google Drive instead of having to move each individual file. This is also a great way to email screenshots to colleagues.
Enjoy!
No Responses