In the flurry of updates that happened to not just Google apps but apps in general for Android at the end of last year, one big change came to Google Maps. The app gained the ability to have offline maps available, something that competitor products had enjoyed for a long while yet for whatever reason, Google had not yet supported it. That has changed now and in typical Google fashion, they have made it very easy to create offline maps.
Why would you want offline maps? Simple really. No matter which carrier you use for your mobile service, you will undoubtedly hit a dead zone where you have no coverage. I experienced this over Thanksgiving when I drove from my home in Denver to ski in Steamboat Springs, Colorado. There is a good 50-odd miles stretch that has absolutely no mobile coverage. I did not have it with Project Fi (which meant there was no T-Mobile or Sprint in the area) and my wife had no coverage on her iPhone with AT&T. This scenario is exactly where offline maps become important, especially if you know you are going to have to make some road changes to get to your destination but aren’t exactly sure where those are going to happen.
For this How To I’ll show you how easy Google has made it to create offline maps in Google Maps and how the app works with them.
First, to create the offline map, open up Google Maps on your phone then use the menu to navigate to Offline areas. By default, the app will give you two suggested areas, Home and Work, if you have set up these areas in your Google profile. If you want to add those areas, just tap one of them and you will be brought to the offline map creator. On this screen, anything that is within the
Google Maps Offline Map Creator
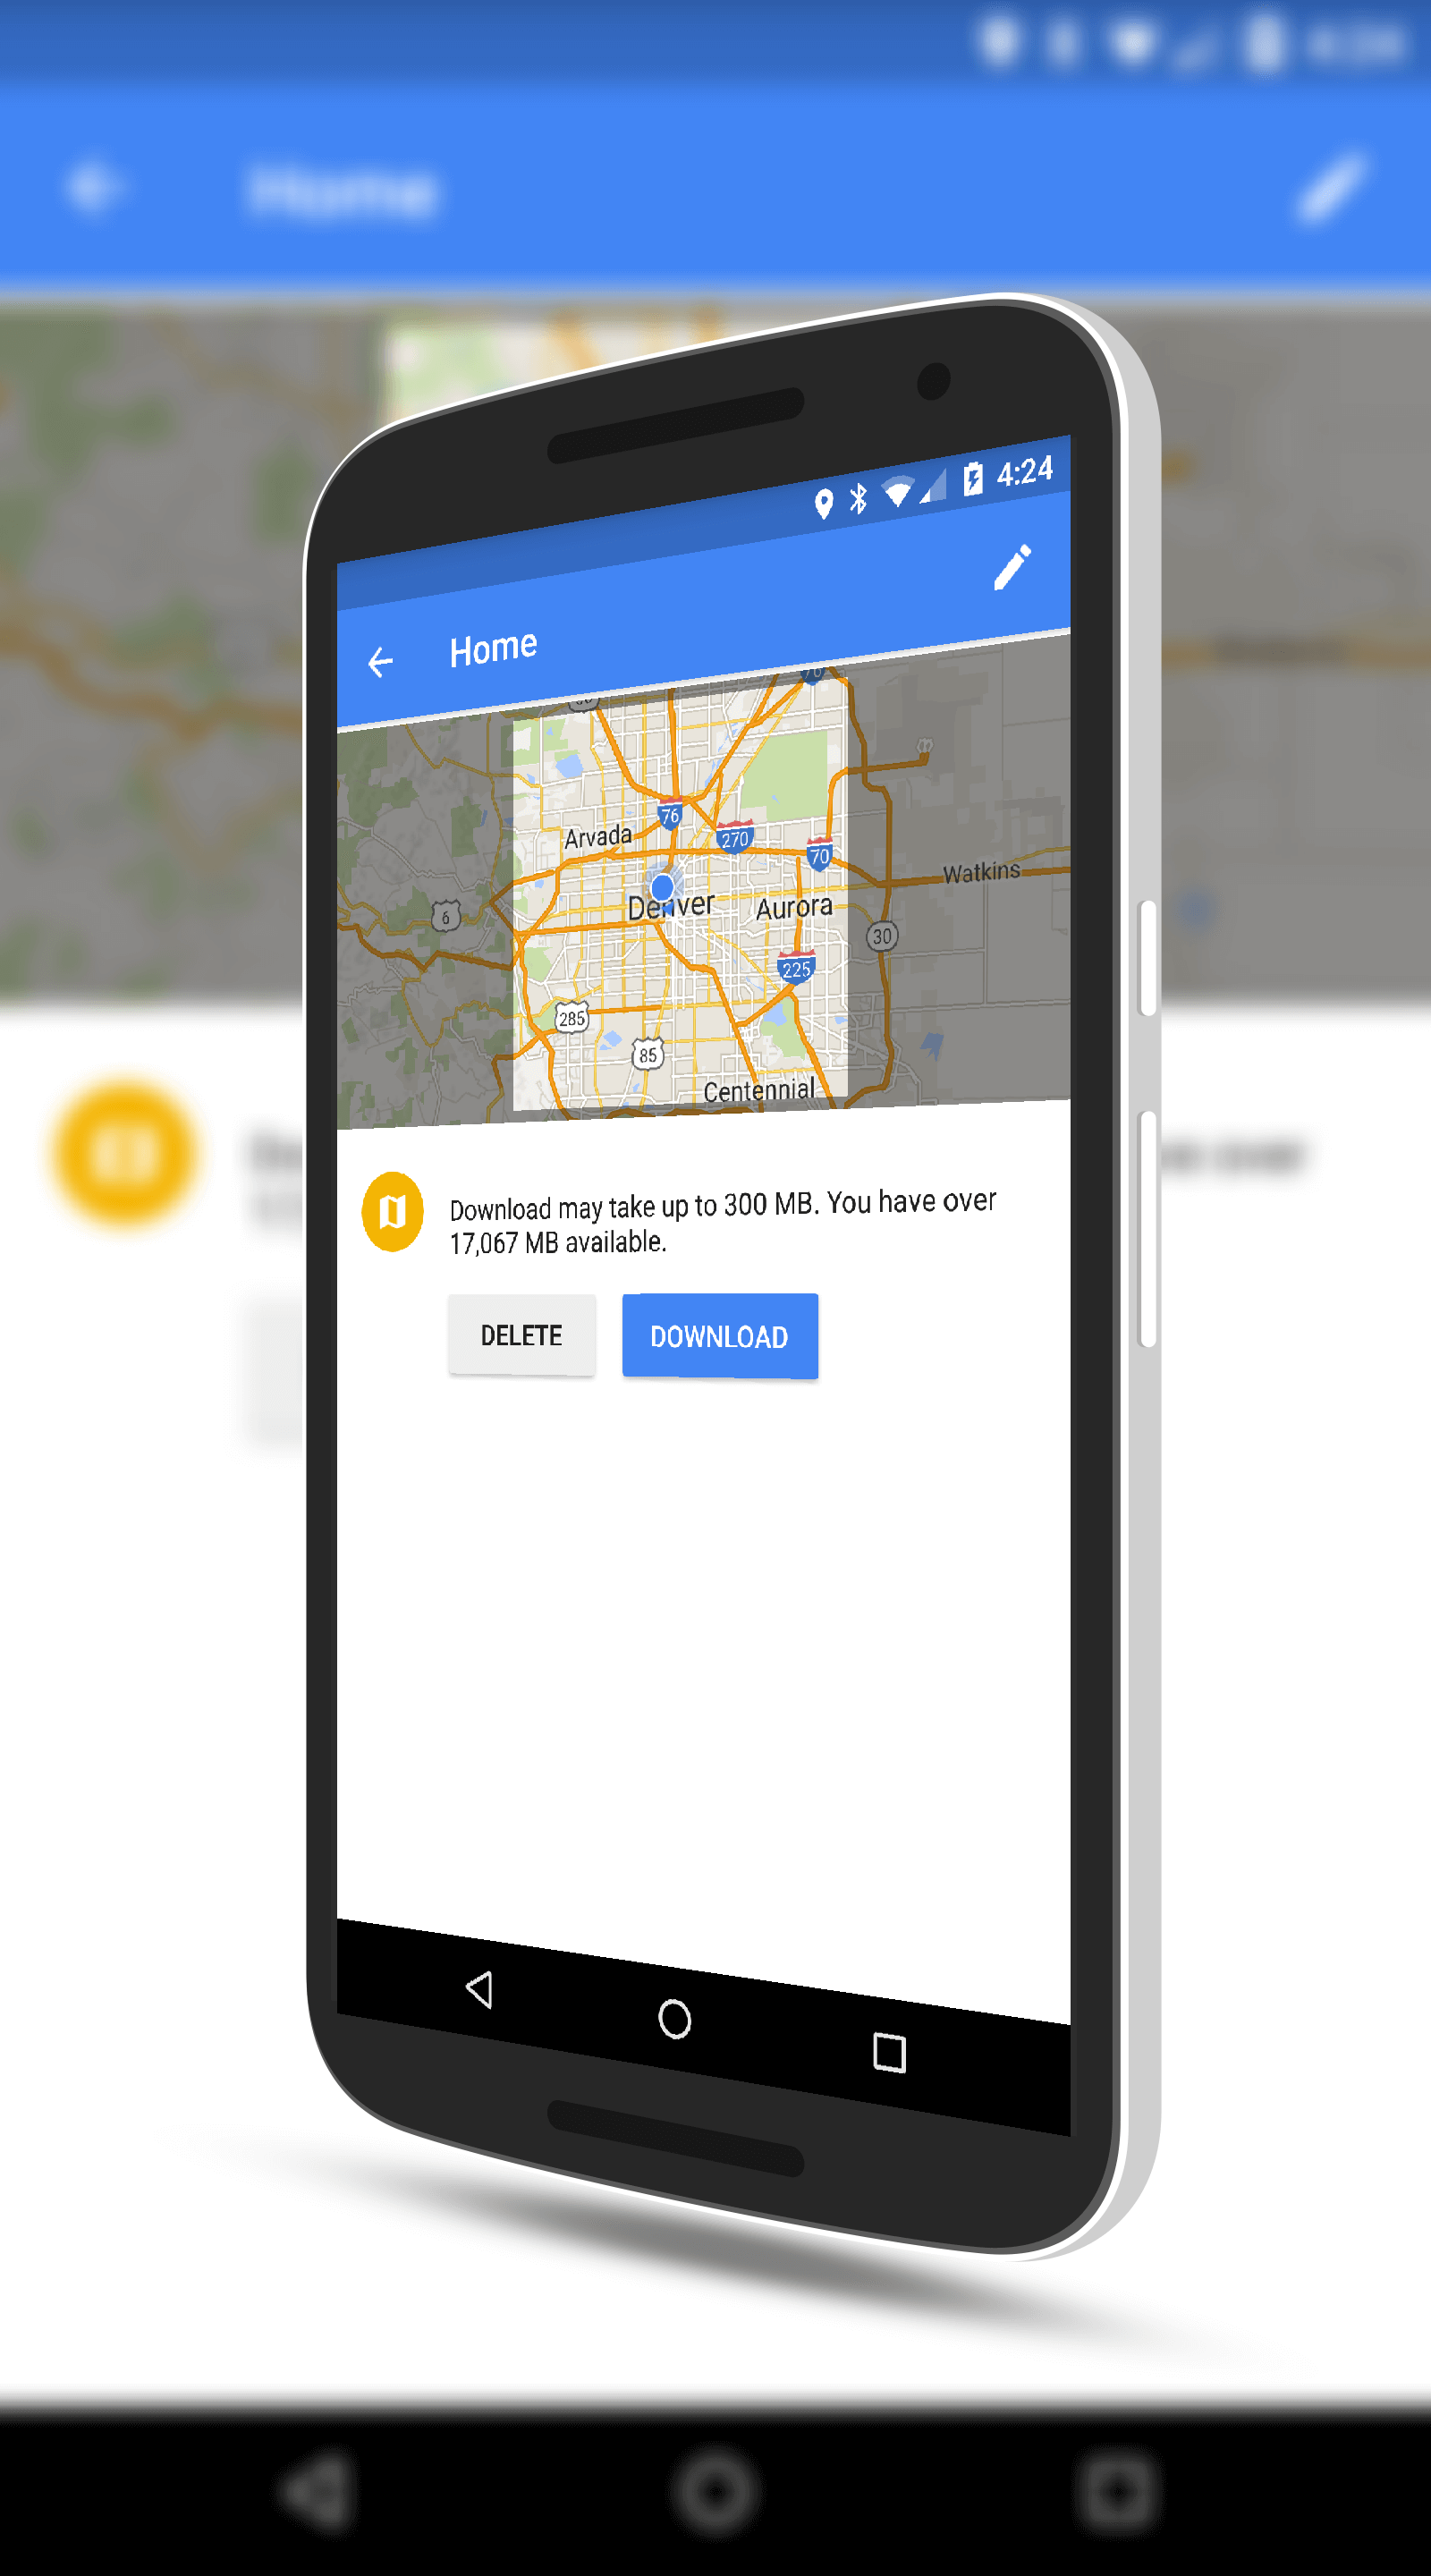
box will be captured in an offline map. You can also zoom in for a smaller area or out for a larger area. You are limited to 122,000 square miles so if you zoom out too much then you will be told to select a smaller area.
The amount of storage required will depend on the density of the area you have selected and the size. At most an offline map will take up to 500MB of storage. Most of my maps have taken up less than 100MB of the Denver area and other cities around the US. Your mileage will vary of course. Once you have the area selected, tap the Download button. You will be prompted to name the area and then tap the Save button to start downloading the map. Again, depending on the size of the map, it could take a few minutes to download it. Once you have the map saved it will appear in your Offline areas section of the app.
Once you have an offline area saved, functionally Google Maps works the same as if you were online. You setup your driving directions and the app functions the same as always. However, there is one really good feature that the app supports. When you do go online (have a mobile signal), Google Maps will revert back to online maps to make sure you have things like traffic information and updated real time data. If you go offline again, then you simply go back to your offline map.
By default, offline maps expire every 30 days. This is to assure that you have the latest information for an area. Google Maps can be configured to automatically update offline areas every 30 days so you don’t have to worry about it. If you have an offline map that you don’t need any more, just go to the Offine areas in Google Maps, tap the map you don’t need and then tap delete.
For more How To’s, be sure to check out the How To’s section.