One of the most common questions I get here on the site has to do with screenshots. The questions generally fall into two categories. First, how to actually take the screenshot itself and second, how I create the images that you see in reviews or posts on applications. In both cases they are easy and free to do and hopefully this How To will clear it up for you.
First, let’s focus on the actual screenshot taking process itself. On your Android phone or tablet, when you are viewing the screen you want to capture, press the power button and volume down button at the same time. You will know that you have captured it when your screen flashes and you see a fading image of what you captured on the display. You will also get a screenshot notification in your Notification area. The screenshot itself will be a PNG file and will be stored in your device’s photos folder.
This way of capturing a screenshot should work on any Android device. While some manufactures and ROMs out there (like Cyanogen) will have ways to capture a screenshot a bit easier, the
Google Now Hi There
method I’ve outlined should be good on any device running any ROM.
From here, you can simply email or share the screenshot itself without dressing it up in any way.
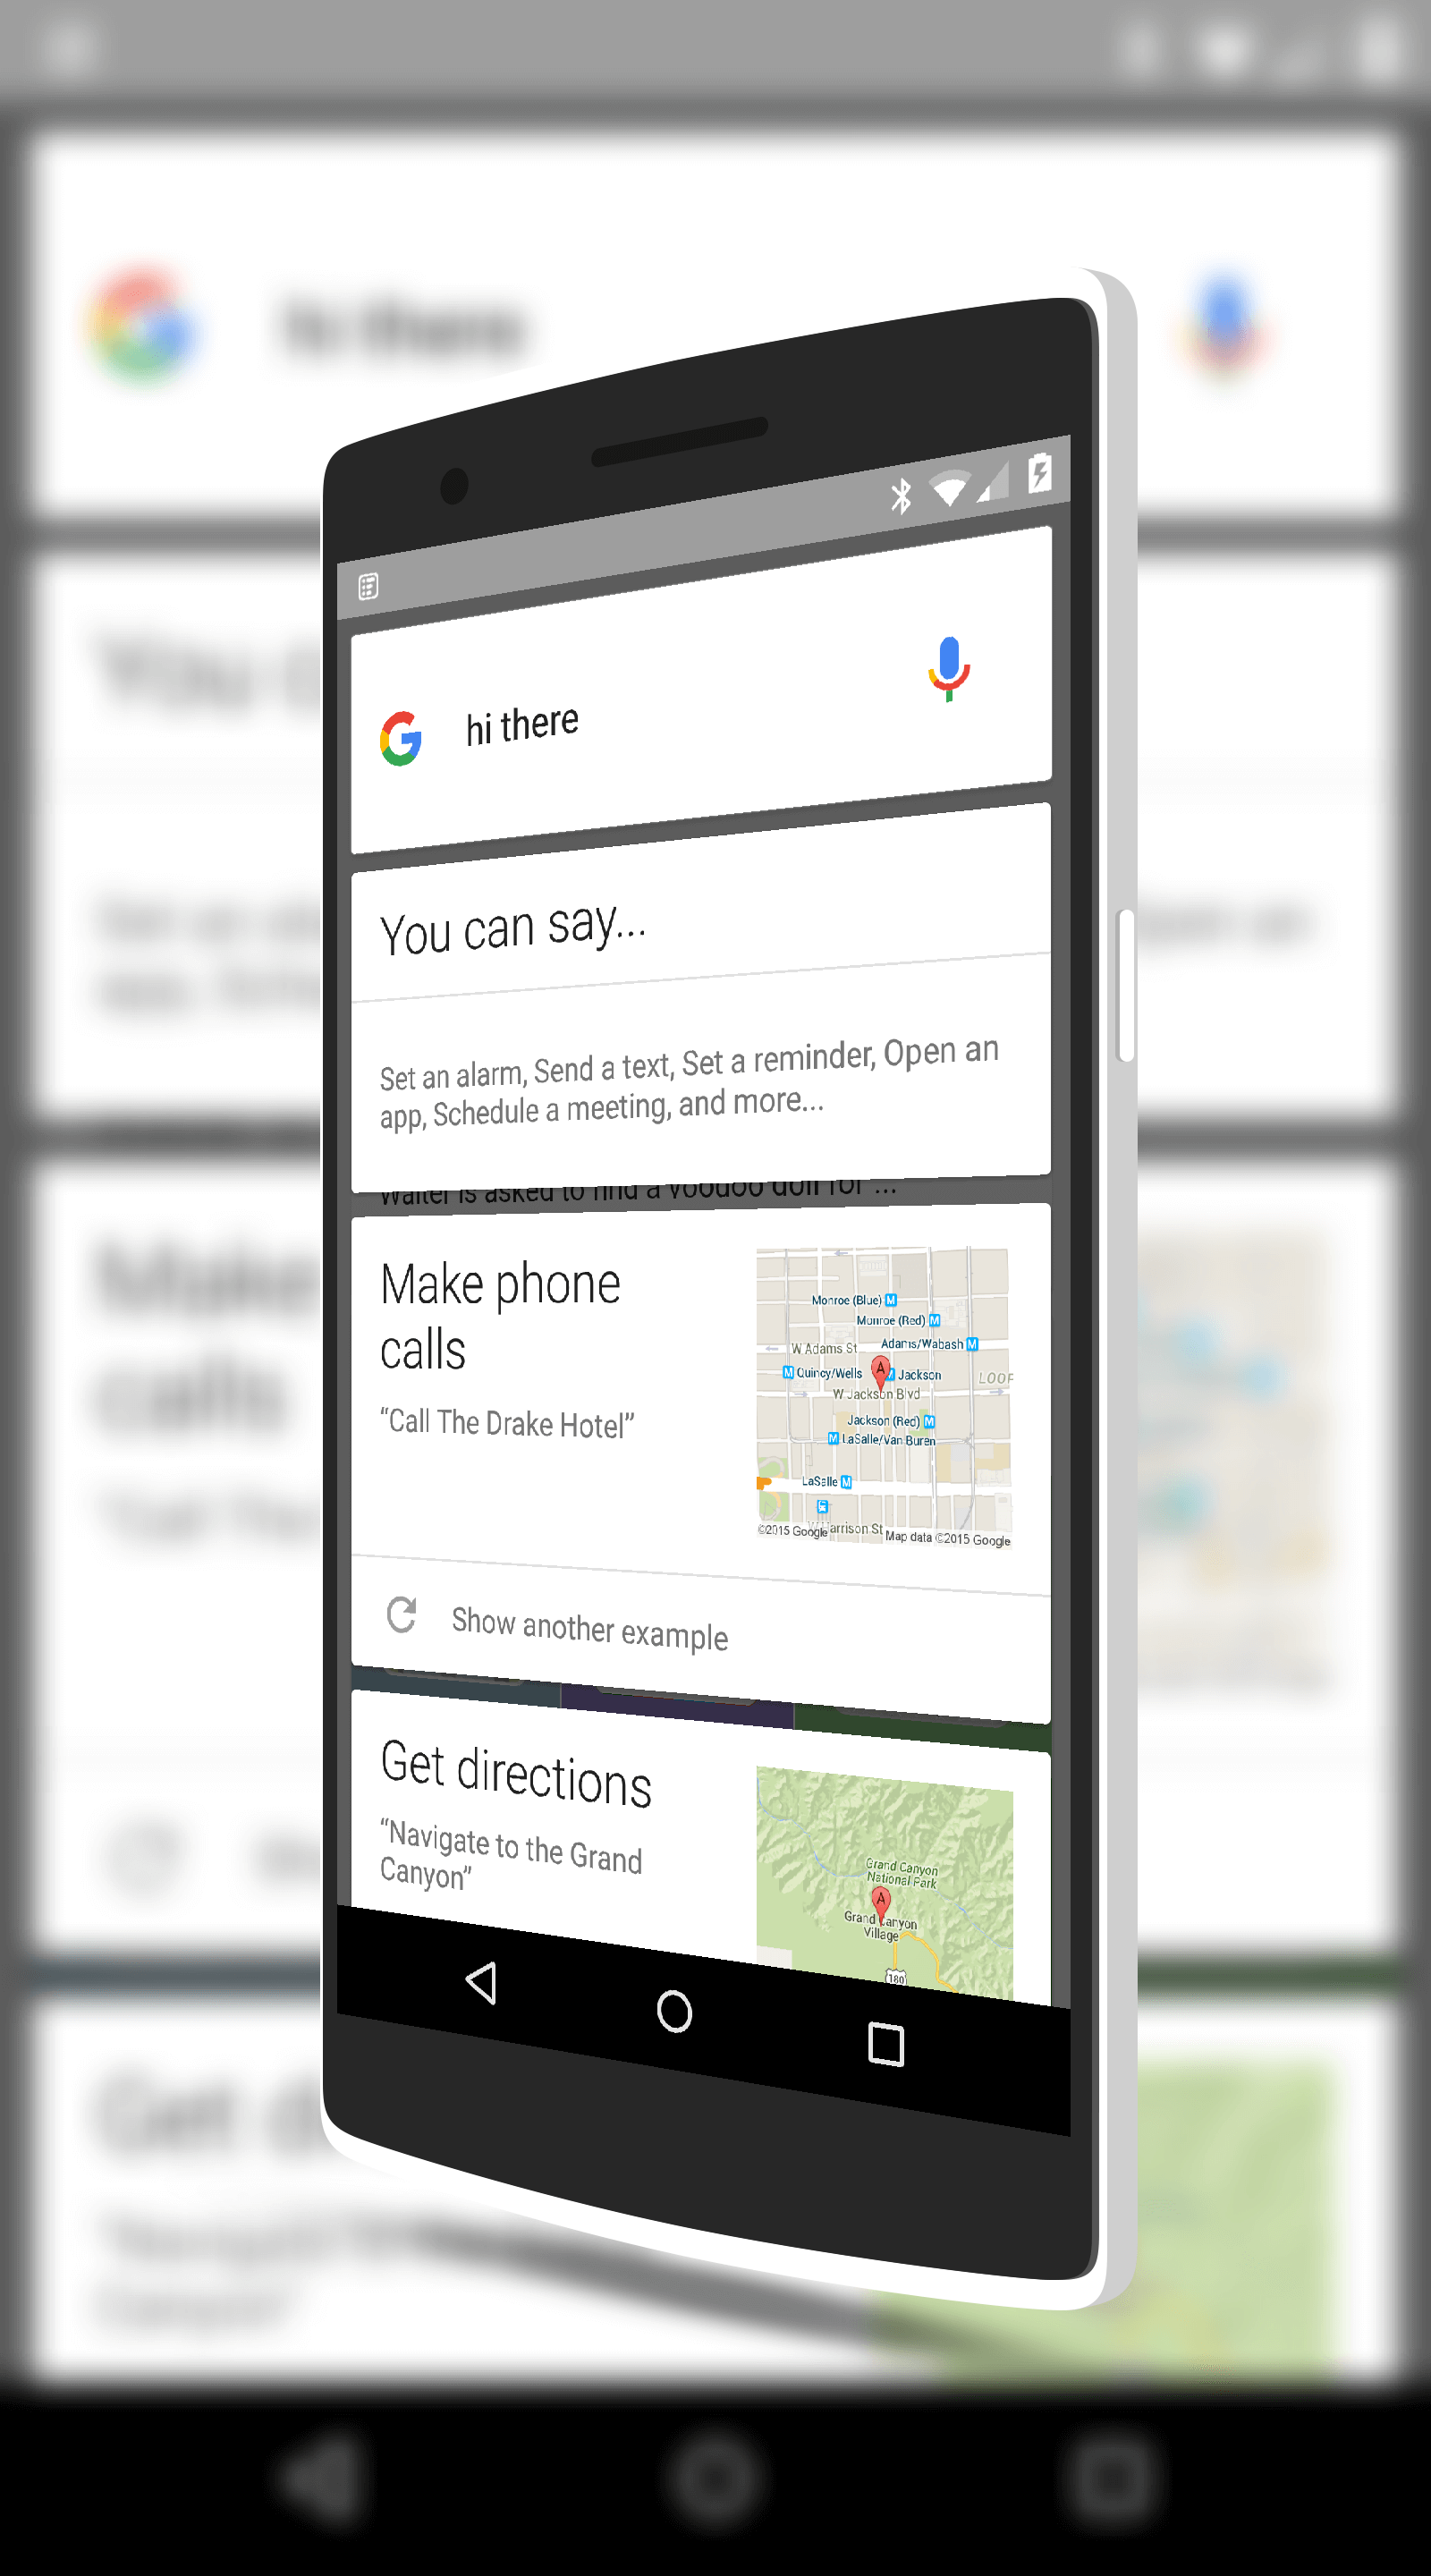
Part two of this How To is going to cover how I create screenshots like the one you see to the right. That is done with a free app in the Google Play Store named Screener. Screener allows you to put a frame around a screenshot so it looks like it is on an Android phone and allows you to do things like add background images, blur those images, add drop shadows and so forth. The app also supports Android Wear devices but it does not support Android tablets from a framing perspective.
While I personally like Screener, there are certainly other apps that are out there that will give you the same ability. I just find Screener works best for me and I like the Material design of the app.
For more How To’s, be sure to check out the How To pages here on the site.