If you have an Android phone or tablet that is being sluggish, it can be one of the most frustrating experiences with technology. Android, like other Operating Systems, caches app and system data to use in efforts to speed up apps and processes. Yes, the irony wasn’t lost on me either. The problem is that this cache can become corrupt or simply too big for the device to be able to manage effectively. Every OS suffers from this – Android, iOS, Windows and MacOS. Perhaps the only real notable exception is Chrome OS.
The good news is, on Android, there are two things you can do on any device that will help you clear out the cache and restore order to your particular world. One is found in Settings while the more aggressive step requires you get your device into Recovery mode. In this How To I will show you how to do both.
The first, less challenging way to clear your device’s cache, is found in Settings. If you navigate to Settings>Storage and then click on the Cached Data section, you will be prompted that you are about to clear your device’s cache. Tap OK and the process will take just a few minutes. Once it is completely, I highly recommend that you restart your device.
For 90% of readers, this will do the trick. After your reboot, your phone or tablet should be more responsive and you can go on about your day. However, for that 10% who are still struggling with sluggishness, a more intrusive way of clearing the cache can be done. That is wiping your devices cache partition.
To be sure, this is a more advanced function. Do this at your own risk and no guarantee or warranty is expressed or implied. No I’m not tech support!
First, if your device is powered up, power it down.
Once it is powered off, press and hold the volume down button then press and hold the Power button until the device turns on. You should now be in the system menu. Use the volume down to select Recovery mode then press the power button. This will drop you into the Recovery mode on your device.
Clearing Your Device Cache
Once you are in Recovery mode, you will see an Android with a red exclamation mark and “No command” on your screen. Do. Not. Panic. This is exactly what you are suppose to see!
Now hold down the Power button and then press the Volume Up button. You should now see the recovery menu.
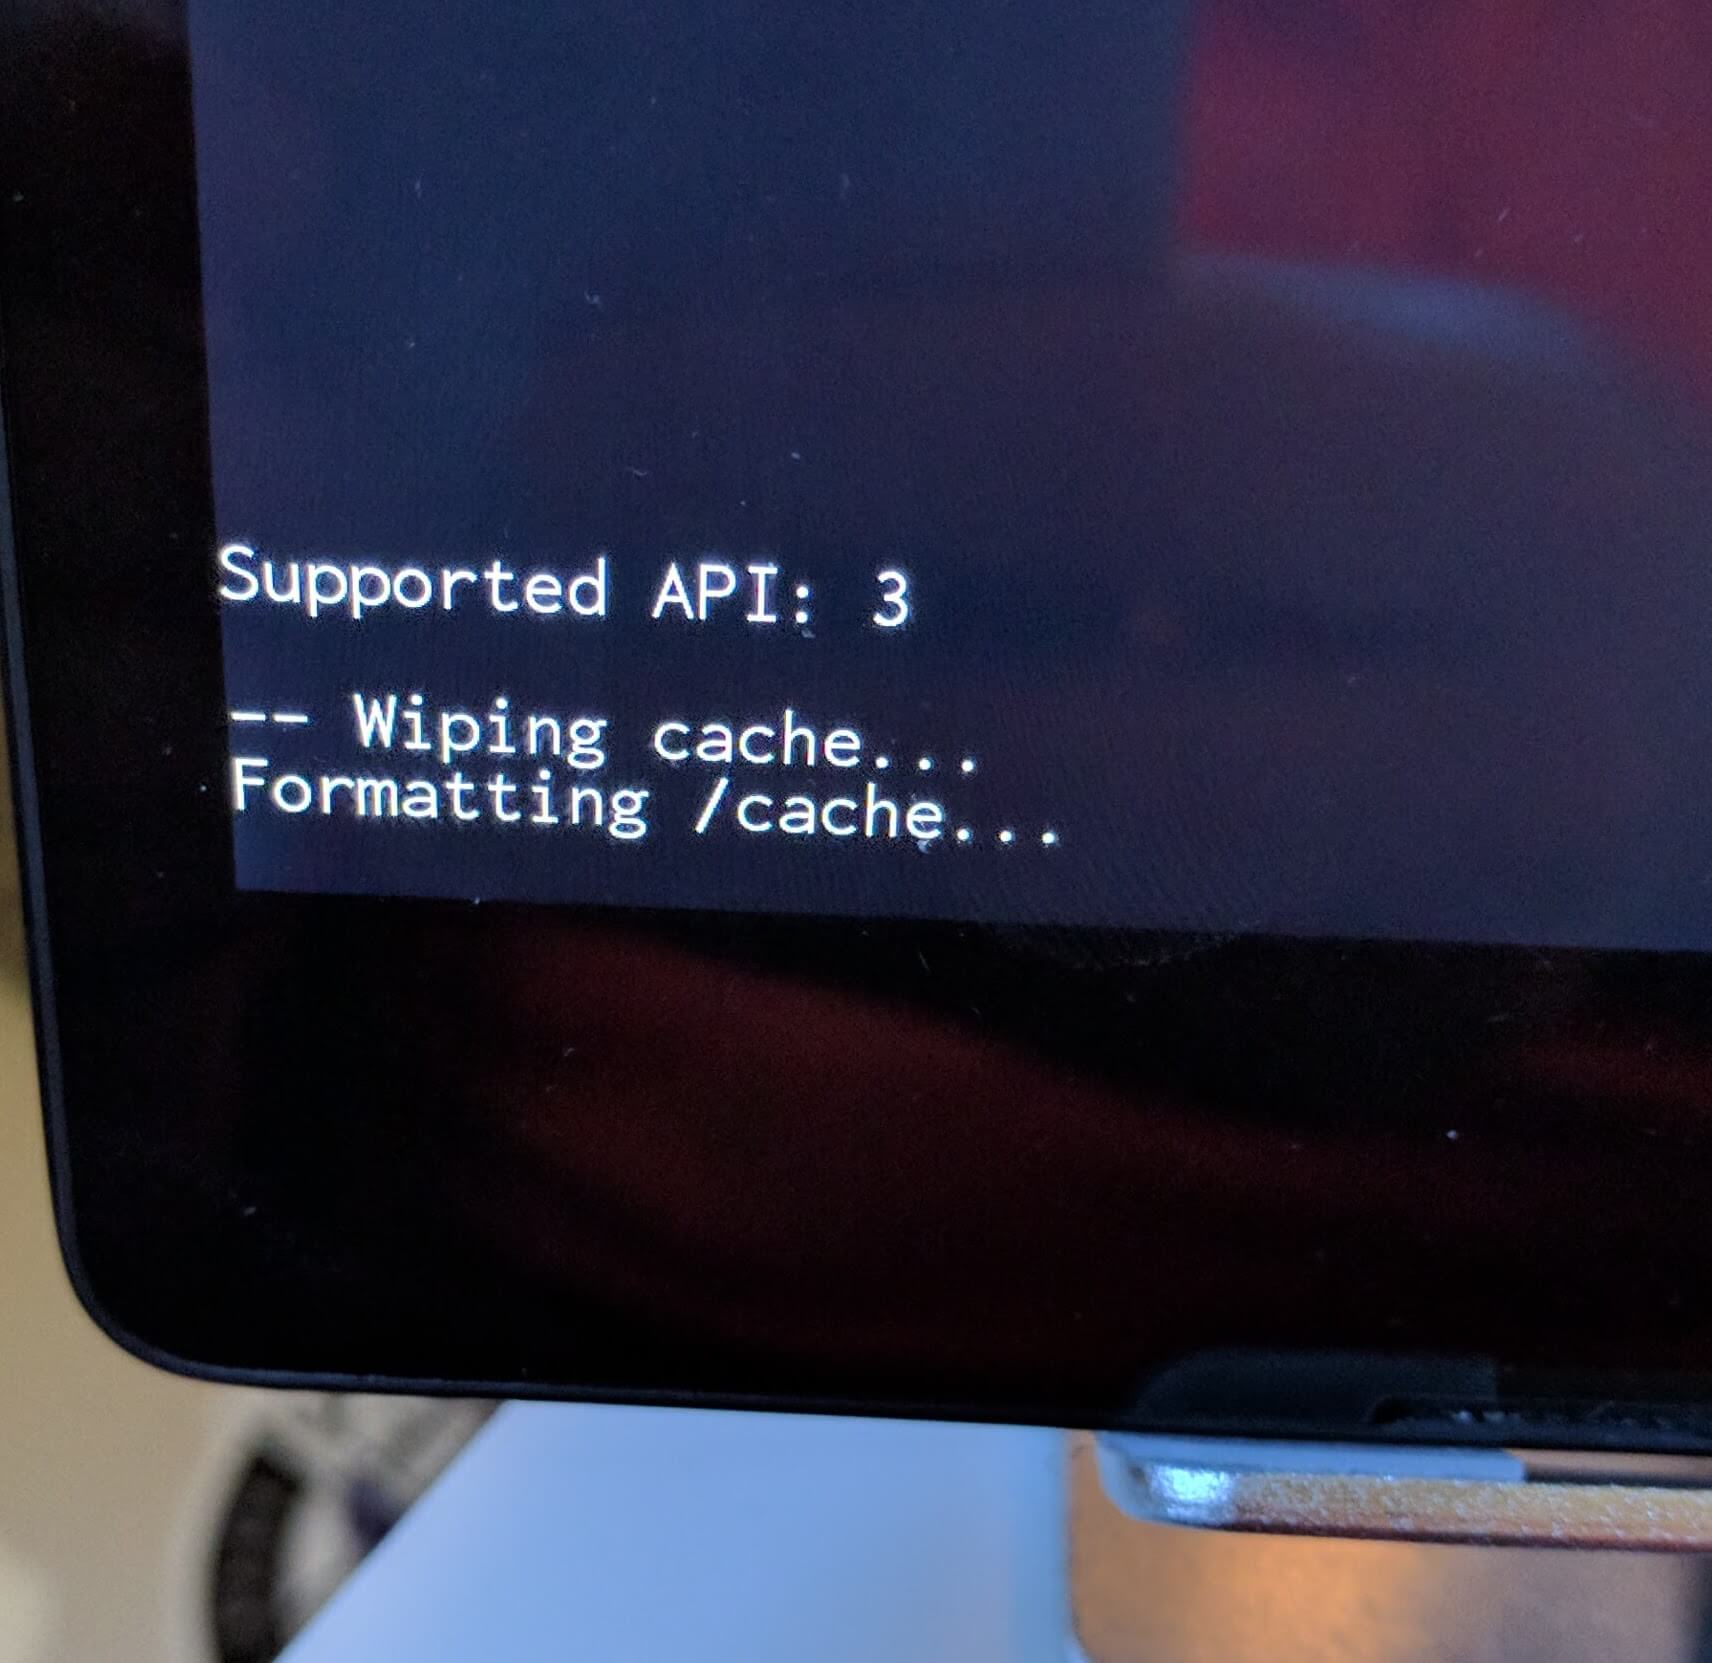
Using the volume down button, scroll down to wipe cache partition and press the Power button. This will start the cache clearing process.
Once the cache is cleared, you will see the menu again. Use the volume keys to navigate to reboot system now and press the Power button to reboot your device.
The cache clearing process can take some time so be patient. On my Nexus 9, I’ve had it take upwards of 20 minutes while on my Nexus 6 it has taken about 10 minutes. It will vary device-to-device and by the amount of data you have on the the device. Be patient.
If you go through this process and you are still struggling with a device that is sluggish, you may want to consider a full factory reset (backing up any data first of course). Usually you don’t have to do this as one of these two cache clearing modes will work but it is certainly possible.
For more How To’s, be sure to check out the How To Pages.