In December of last year I posted a How To on taking screenshots of your Windows 8.1 tablet and it turned out it was one of the most popular How To’s on the site. Apparently a lot of you like taking screenshots on your tablets, which is done in a similar way to Windows Phone. However a few of you have written asking how this can be done on Windows PCs. From your emails, it looks like most of are using Control+PrintScreen to take a screenshot which saves it to the Clipboard then editing that photo (or creating it more-or-less) in Paint. There is an easier and quicker way.
Instead of clicking Control+PrintScreen, press Windows+PrintScreen. When you do this, just like on your Windows 8.1 tablet, your screen will dim momentarily and then return to normal. Now
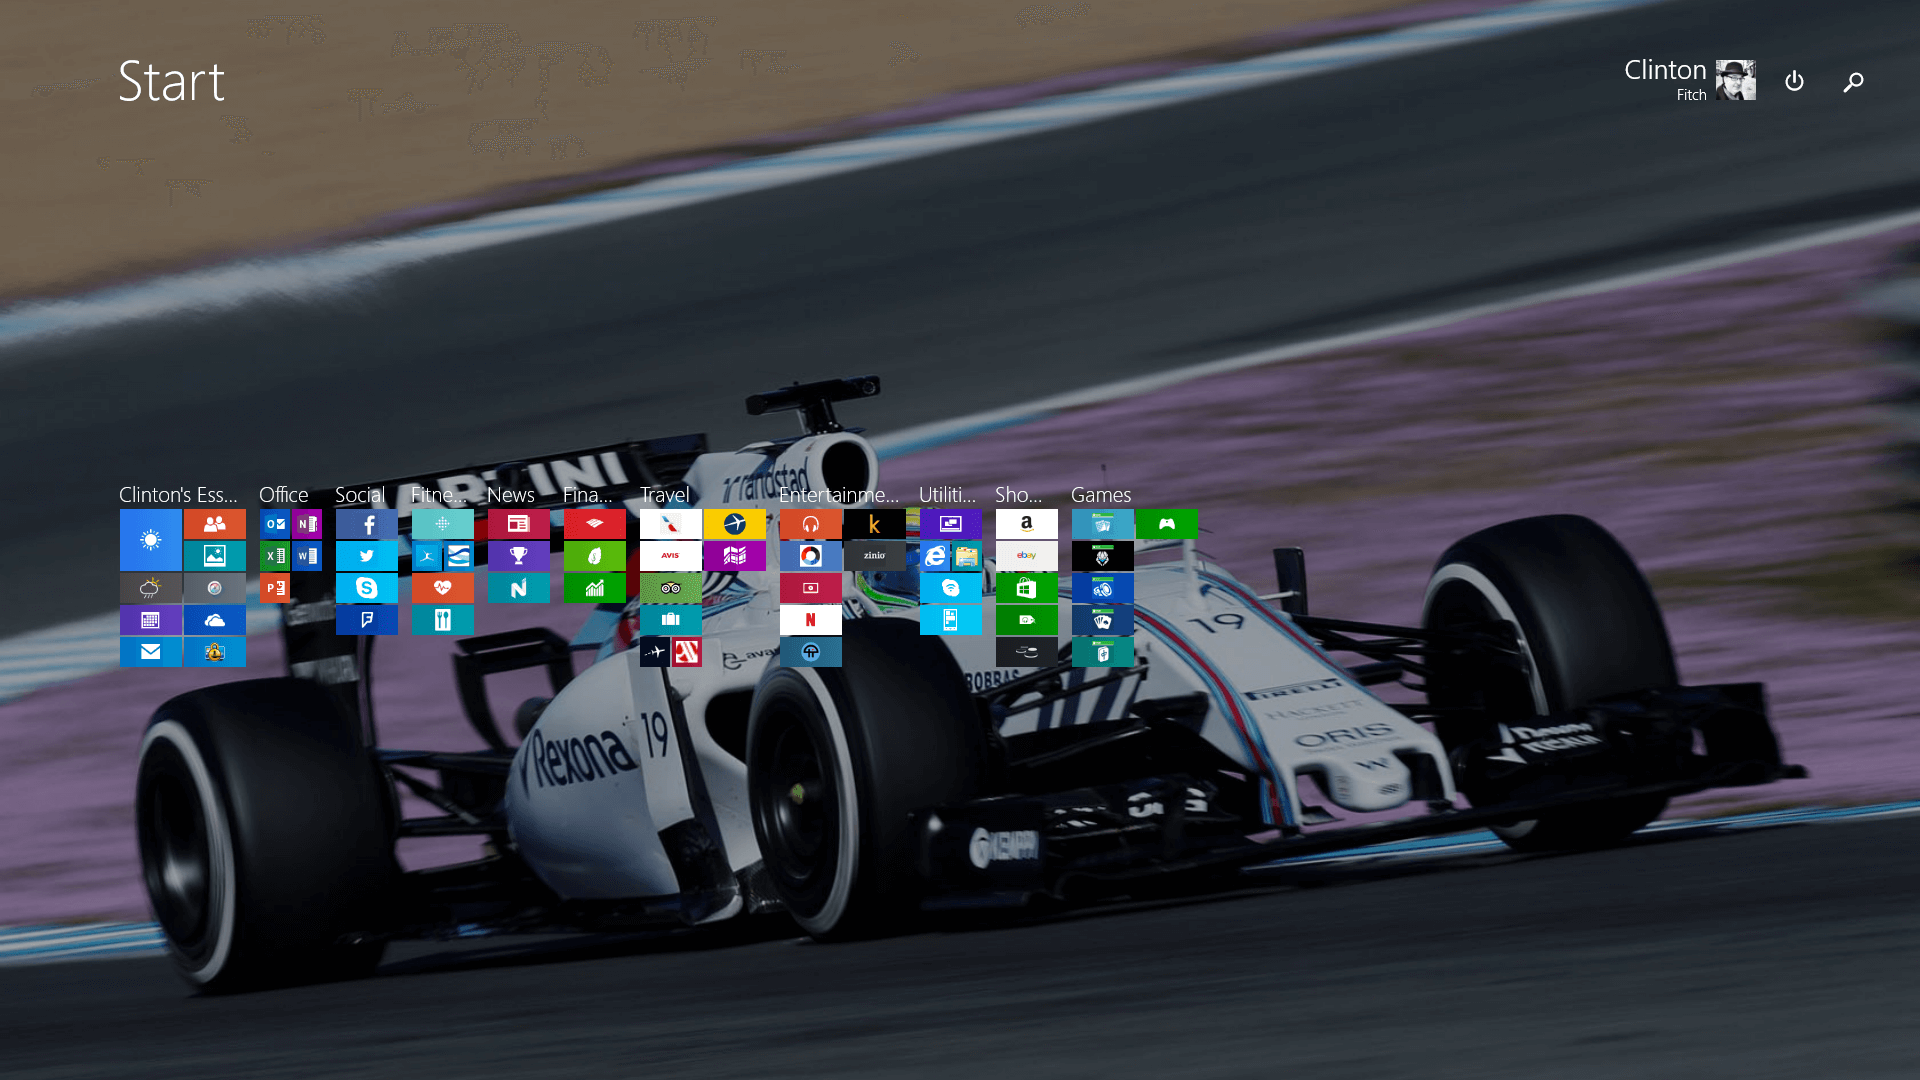
Screenshot in Windows 8.1
navigate to your Pictures folder on your hard disk and you will see a new folder, Screenshots. This is the folder where all of the screenshots you capture via this key combination will be stored. From there you can edit them with any app (like Autodesk Pixlr) for your presentations or other needs. It’s quick and simple.
The beauty of this little trick is that it works both on your Windows 8.1 Start screen as well as your Desktop. It does not however let you capture your Lock screen which kind of make sense as you want to limit any and all access to your PC through key combinations if it is locked. Desktop captures have always been pretty straight forward in Windows but capturing the Start screen has been a bit more of a chore. This method works flawlessly every time.
For more How To’s, be sure to check out my Windows How To page and my Windows Phone How To page.
How To’s for Windows
How To’s for Windows Phone