Project Fi, Google’s MVNO (Mobile Virtual Network Operator) service is starting to come into is own. With a line up of three devices that fully take advantage of the service (Nexus 6, Nexus 6P and Nexus 5X), more users of the service are coming on board daily with Google significantly cutting the time from when you request an invite to when you receive it (it is a matter of a week or two versus 6-8 weeks earlier this year). As I posted shortly after the Nexus event where we saw the 6P and 5X launched, Google is serious about Project Fi and based on my experience so far, the service is exceptional. The service uses a combination of Wi-Fi, T-Mobile and Sprint to provide you low cost data and voice on your device. I’ll have a full review of Project Fi in a few weeks but today I want to focus on the activation process when you receive your Google Fi SIM.
To be clear, I’m assuming in this How To that you already have ordered and receive your SIM. If you haven’t, you can continue to read but I’d recommend bookmarking this post until you get your SIM. If you have your SIM then after the break I’ll show you step-by-step how to activate your new Project Fi service. If you have not ordered your Project Fi SIM, go to http://fi.google.com to order it.
To start, go to the Google Play Store and download the Project Fi app. You will need this for the activation process. Start the app with your old SIM in your phone and sign in with your Google
Project Fi for Android
account you used to sign up for the service.
Now power down your Nexus device and remove the SIM of your current provider. Insert the Project Fi SIM into your phone and power it back up. Once you have started your phone and signed into it, if you have the Project Fi app installed, your phone will immediately go to that app to start the activation process. If you didn’t install the app, no worries. Just get on Wi-Fi (you will have no cellular coverage at this point) and download the app, following the sign-in instructions I’ve outlined above.
At this point, how the activation process will go depends on if you are moving your old number to Project Fi or if you are requesting a new number. You would have indicated this in the sign up process to get the Fi invite. If you did not indicate this during the sign up process, you are going to get a new number. Congrats! There is no way to go back and change this within the Fi website or app. You can however, if you are really desperate to keep your number, contact the Fi team and they can help you out on it.
If you are porting over your number, then the Project Fi app is going to request you enter in that phone number, your billing address and your current carrier’s credentials so the Fi team can port over your number. This process can take a matter of a few hours to a day so keep that in mind on when you decide to activate your service. In-other-words, doing it on Monday morning before you fly out on a business trip may not be the best time. 🙂 During the time where Fi is porting over your number, you will have disrupted service on your phone for calls and SMS.
If you are requesting a new phone number from Project Fi for your account then the process is a bit easier. When you start the activation process in the app, you will confirm that you are requesting a new number and one will be assigned to you. This is the process I used and it took less than 5 minutes for me to receive my new number. Once the number was received, I was able to start making calls and texting immediately. You do not have a choice on your number which may or may not be a big deal for some. You will get a number in the area code you live (or have set up as your billing address) but beyond that, no choice is provided.
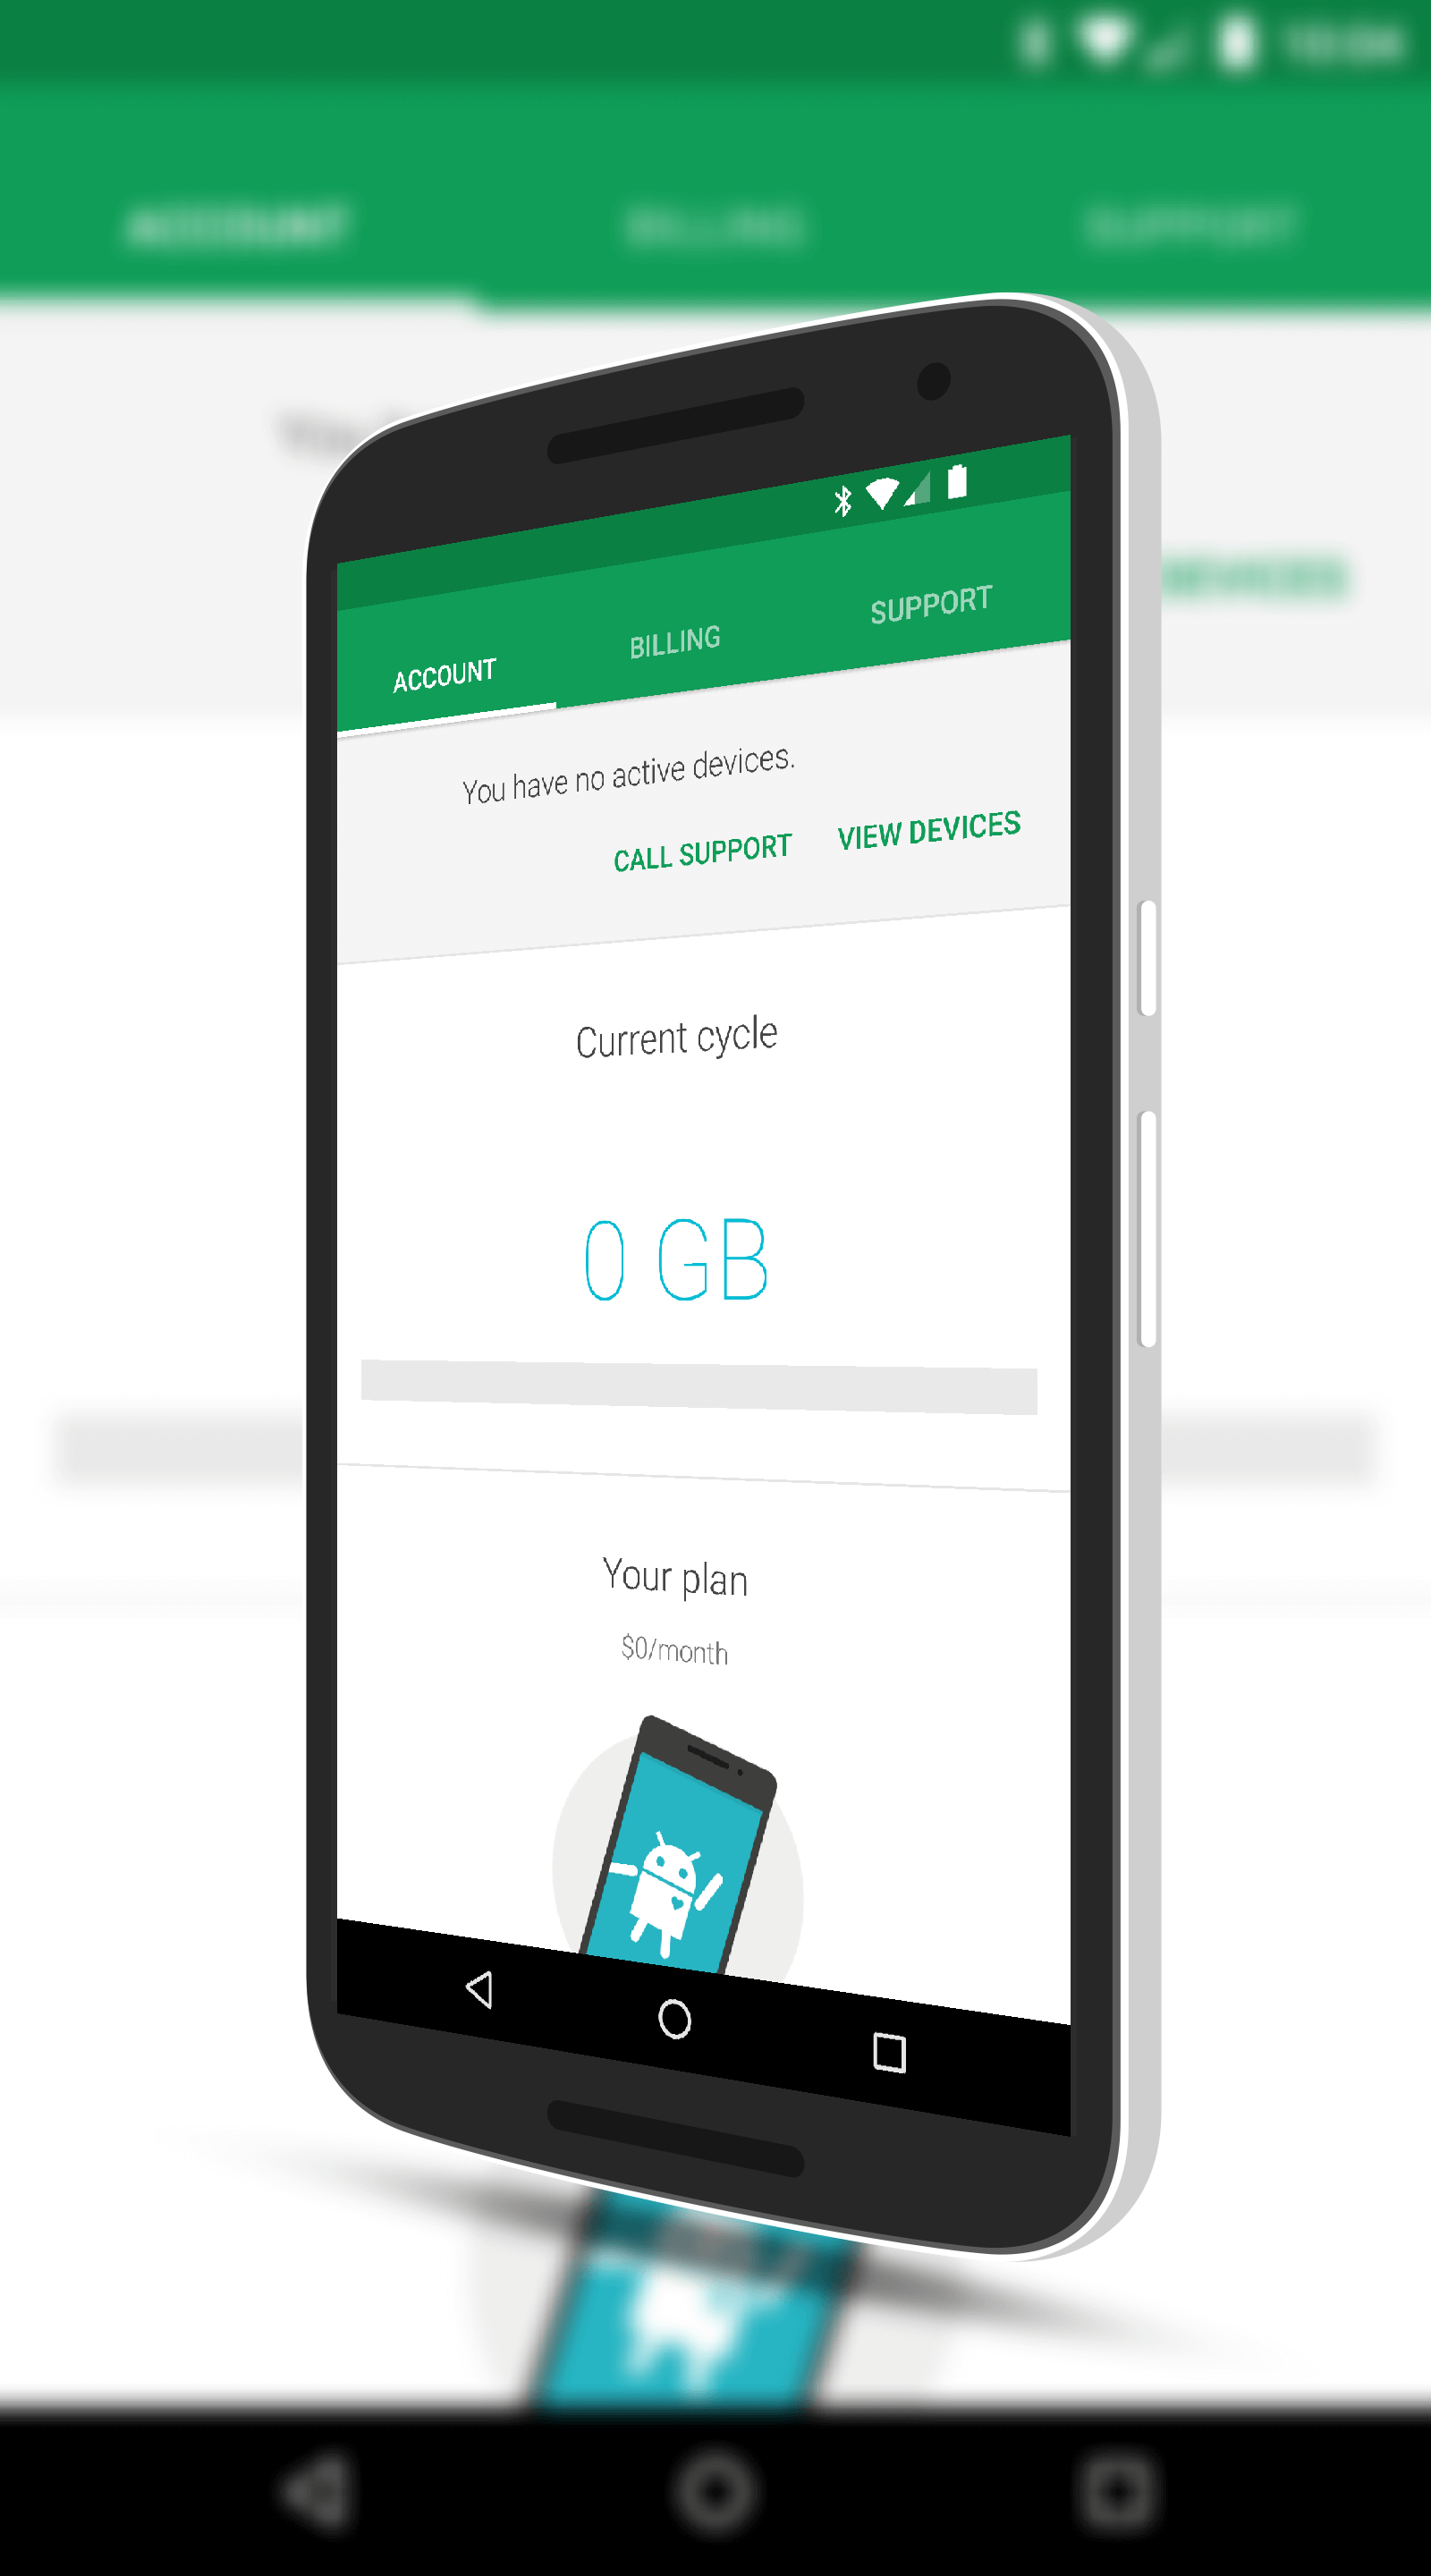
Regardless of which way you handled your existing phone number, once you activate your service on Project Fi, the day you activate it is the first day of your billing cycle. That too may be something to keep in mind if you are wanting to keep your mobile bill in the same part of the month as your current provider for budget reasons. You will also get a bill sent to your Gmail account within a day or two for that months service. Remember that with Project Fi you pay in advance.
As you can see, Activating Project Fi on your Nexus device is pretty straightforward. All you need is a bit of patience, the Project Fi app and your current carrier’s billing information if you are porting over your number. If you are getting a new number, it is even easier.