The ability to screen capture in Windows Phone 8.1 is easy to do and is the same process for any Nokia Lumia Windows Phone. For those of us who blog and write about the platform, taking a screen capture is important so we can convey whatever it is we are posting about. If you read the site or see my posts over in the Microsoft Community pages, you will see a lot of screen captures from me. They say a picture is worth a thousand words…
Even if you don’t write reviews however, you will find taking a screen capture in Windows Phone 8.1 something handy when you are showing friends something on your phone and sharing it via a social network or email.
To do a screen capture in Windows Phone 8.1, all you need to do is press and hold the Power button on your Windows Phone then press the Volume Up button. You will hear a camera shutter sound and your screen will blink to let you know that it has been
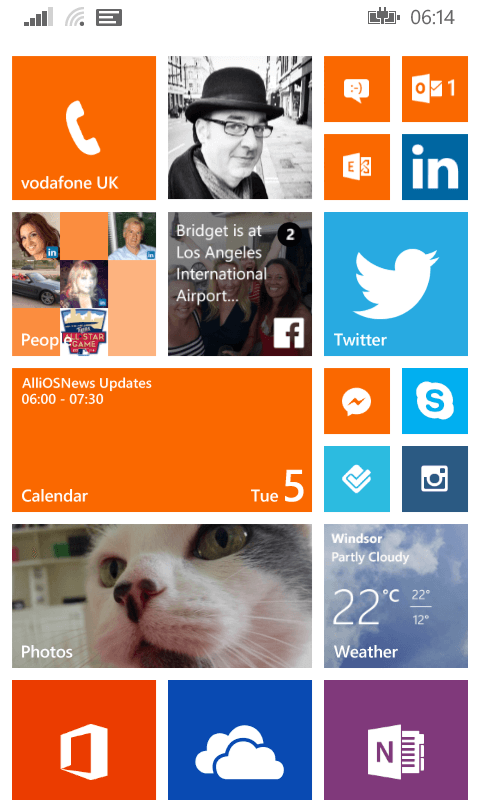
Windows Phone 8.1 Screen Capture
captured. You will need to be a little quick on this button combination so you don’t accidentally turn off your phone so it may take a little bit of practice at first.
Once you have a screen capture done, the image will be in your Photos under the Screenshots folder. This folder is not synchronized with your OneDrive account so if you want to move it to OneDrive you will need to open the photo in Photos, press the Share icon then share it with OneDrive.
By-the-way, yes, I agree this is a pain and I wish there was a way to natively share the Screenshots folder but so far I’ve not found a way. If you find a way, let me know and I will post it for everyone to benefit from (with proper credit to you of course).
For other How To’s for Windows Phone, be sure to check out the How To for Windows Phone page.