Over the course of the past month I have been in the process of trying and slowly migrating to the Google suite of Office apps: Google Docs, Google Sheets and Google Slides. It started as an experiment to see if it would hold up to the compared to Office 2013, up until now, my main Office suite. I have to say, for my work and what I need out of these applications, they work amazingly well and the transition has not been nearly as painful as I expected it would when I started this little science fair project. In fact, it’s to the point now that I probably won’t go back for 99% of what I need to do. Indeed this weekend I plan on uninstalling Office 2013 from my laptop because for that 1% of the time where I need something extraordinary, I can simply use Office online.
Is it the right thing to do for you? That’s a personal decision but here is how the migration has gone for me.
This will be the first of a multi-part series I’m writing on migrating to the Google suite of Office apps. This first part is going to cover the setup and foundation of getting your files migrated to Google Drive, setting up for offline work and using Chrome extensions. Part 2 is going to cover Google Docs on a desktop PC, a Chromebook and the mobile apps. Part 3 will do the same for Google Sheets while the final part will cover Google Slides.
Before I dive into the details of my use of each app in the other parts of this series, I should point out a couple of key things if you are thinking of trying this experiment or migration yourself. First, unlike even a year ago, you do not necessarily have to convert your files from Microsoft Office files to Google files. That means in Google Docs you can edit Microsoft Word documents. Yes you gain more editing power and offline functionality when you do the conversion but you don’t necessarily have to do it. Plus you can always export a Google Doc to a Microsoft work document if you need to do so.
Second, you can use Google Docs, Google Sheets and Google Slides offline. This was my biggest hesitation before doing the migration but once I sorted out the Chrome extensions and I’ve setup offline file storage in Google Drive, it’s no big deal. I’ll cover how to do this in the next section of this article.
Finally, take your time. You will find that the majority of features in Microsoft Office are in the Google apps but they will be in different places. It may take you a few menu clicks to sort it out. Be patient. Give it a chance. Sure it may turn out that it isn’t right for you and your needs but I would suggest trying the experiment over a week or two before you make a final verdict. It isn’t as big a migration from say a PC to a Mac but it is similar to moving from Internet Explorer to Chrome in many ways. Same thing, but bits in different places and this process or that process may be a little different.
Google Drive and Offline Work
The heart and soul of making Google Docs, Google Sheets and Google Slides work for you is Google Drive. It’s the central repository for your files and where things are automatically stored. Google Drive by default is going to come with 15GB of storage that is used to store you Google files, photos and Gmail. If you store your photos in Google Drive and use the High Quality setting and not the original photo size, that storage doesn’t count against your total usage. Kinda nice but frankly I prefer to keep my original photo quality. I can do that because Google Drive storage is
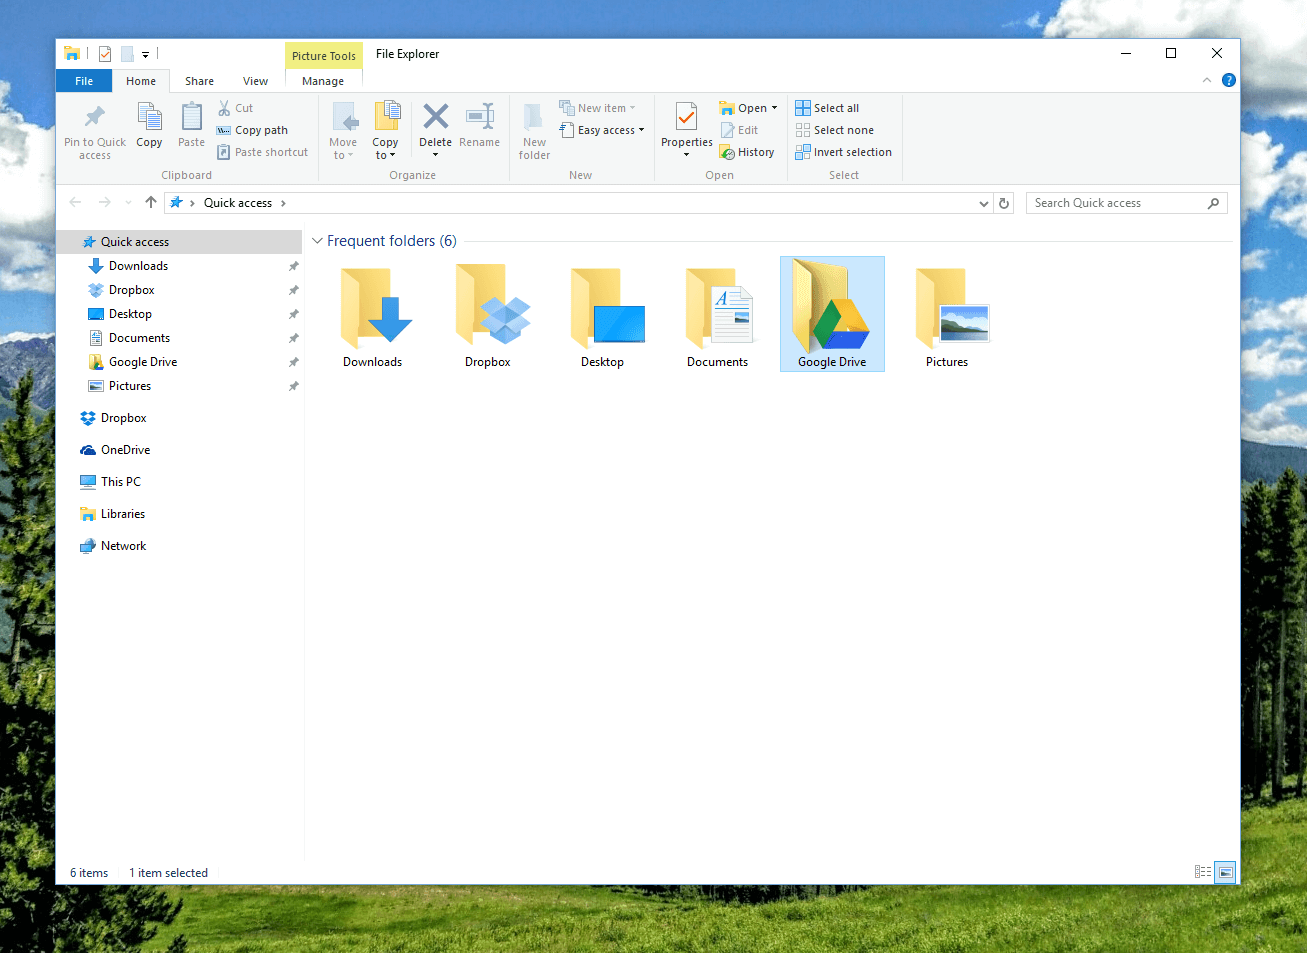
Google Drive Folder in Windows Explorer
silly cheap: 100GB is $1.99 per month, 1TB is $9.99 per month and 10TB is $99.99 per month. I would contend that most of us will never need more than 100GB but 10TB is a huge amount of storage for ten bucks a month. You can get all the pricing details and options on the Google Drive pricing site.
The easiest way to move your files from your PC, OneDrive or Dropbox is to do so on your PC through the Google Drive app for Windows. It’s free and after you download it and install it, it creates a Google Drive folder on your PC (in Windows 10 it’s automatically added to your Quick Access list). From there you can simply drag-and-drop your files from your Documents on your PC or another cloud storage service. My recommendation is to have the belt-and-suspenders approach initially. Copy your files to Google Drive, don’t move them. Not yet. Once you decide that this migration is right for you, then you can delete your duplicate files in your Documents folder or other cloud storage folder.
Once you have Google Drive installed on your PC, you will still have the local copy of your files on your PC (now in the Google Drive folder) but they will be uploaded to your Google Drive in the cloud. This is important for the offline work element. You’ll also notice that you have a Google Drive icon in your System tray. You can click on that to see the status of files being sync’d with the cloud service as well as open up your online Google Drive folder or your local PC folder.
Having a local copy of your files stored on Google Drive is key to giving you offline access. Anyone who reads my blog or follows me on Twitter or Google+ is well aware that if I’m not at home, I’m in an airport or hotel. I travel. A lot. Some for business, some for pleasure but at the end of it, I’m often times not home. That doesn’t mean however that my work stops and I’ve edited many a document while I’ve been at 33,000 feet. In this scenario I have two options: I can edit online and pay the extortion fees that airplane Wi-Fi
Google Drive System Tray Icon
can cost or I can edit offline on my PC. To do that it means I have to have the files locally on my PC which is why the Google Drive app for Windows is important. Think of it as a replacement for your Documents folder on your PC. Instead of storing files there, you store them in Google Drive.
And by-the-way, if you haven’t sorted this out in your mind, storing files on Google Drive means you have a cloud backup of your files. For free.
You’re welcome.
Chrome Extensions
This brings me to the final piece of the setup: Chrome extension apps. As I put in my Power of Google Chrome Extensions article a few weeks ago, Chrome is a powerful browser with equally powerful extensions and apps you can embed into it. A common misconception is that the Chrome apps are only for Chromebooks. With Chrome you essentially have a mini Chromebook in the Chrome browser which means you can take these apps offered in the Chrome Store and install them into your local version of Chrome on your PC.
To Start, I highly recommend that you download and install the Google App Launcher. It is a free app that sits on your Windows task bar that gives you
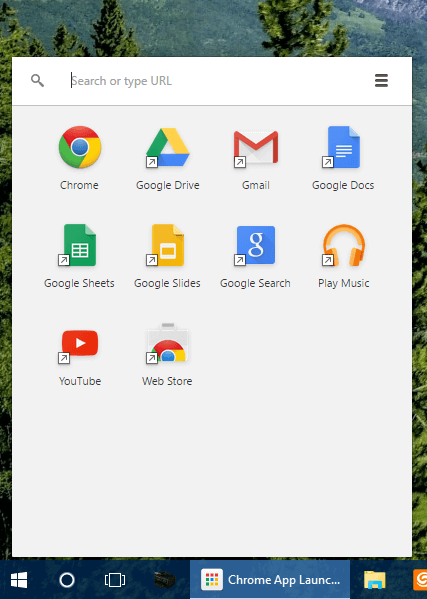
Google Chrome App Launcher
quick and easy access to your Google Chrome apps and other services like Google Play Music. Think of it as a Start menu for your Google apps.
Once you have the App Launcher installed, go to the Chrome Web Store. Here you will find apps and extensions that you can load into Chrome. You are specifically going to need to look for the Google Docs, Google Sheets and Google Slides apps. Once you navigate to those links just click on the “Add to Chrome” button and they will be downloaded to your PC as an app extension to Chrome. Equally they will be added to your App Launcher like you see on mine to the right.
With these in place you can now quickly open a file from your Google Drive on your PC when you are offline. Just navigate to your Google Drive folder on your PC, double-click the file and Chrome will launch along with the appropriate Google app. One thing everyone needs to keep in mind here is that this offline functionality only works on Google files. If you are needing to edit an Microsoft Word, Excel or PowerPoint file, you will need to do that via those apps on your PC.
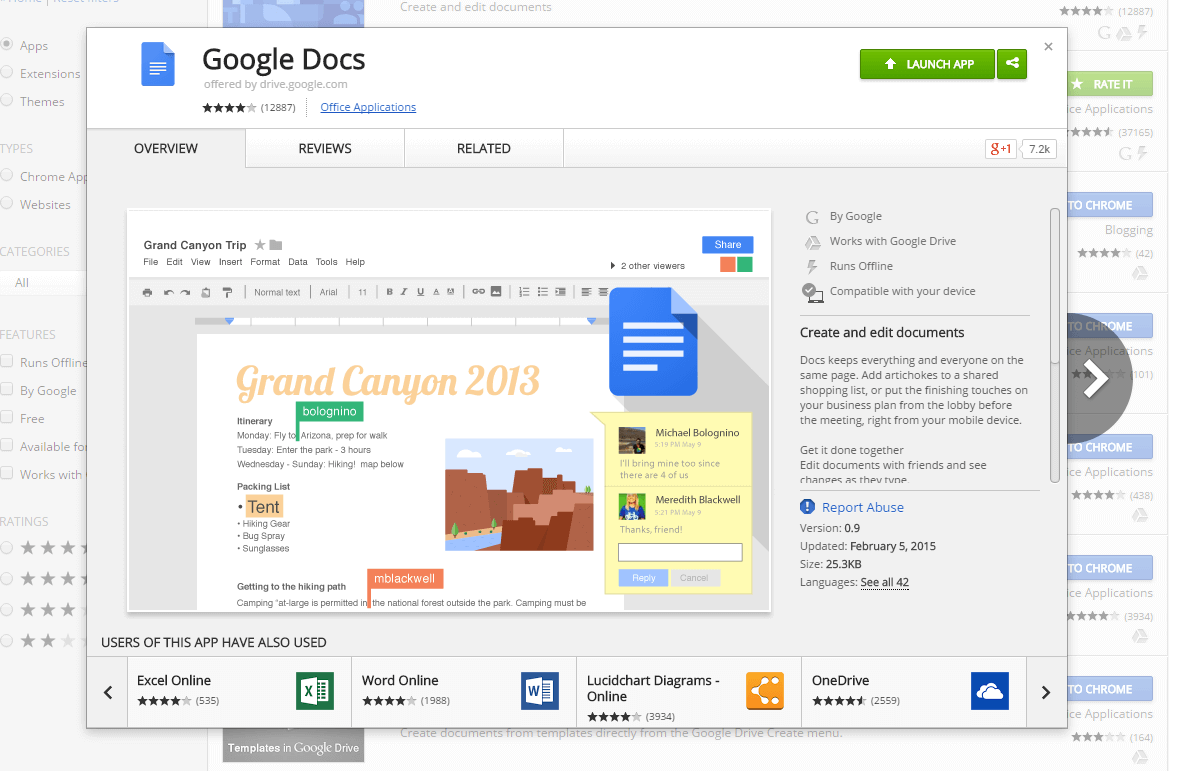
Google Docs Chrome App
Conclusions
Once you get this foundation laid of Google Drive and Chrome extensions, you can take full advantage of Google Docs and the other apps. Is all of what I just laid out necessary? Not all of it. You could simply edit your files only when you are online so you don’t necessarily have to have the Google Drive app or Chrome extensions installed. I have found however in this migration process that doing these steps will give you the most robust and Office-like experience.
Next week I will post the second part of this series where I will cover the use of Google Docs from a desktop PC perspective, a Chromebook perspective and the Android mobile apps on my phone and tablet.