Like any platform, Chrome OS from time-to-time gets corrupted. It doesn’t happen often – I’ve never had it happen in the two-plus years I’ve been using the platform. However, when it does, you’ll need to make sure you are prepared to get things back in order quickly so you can get back to being product (or YouTube cat video watching as the case may be).
Chrome OS has a great recovery tool that is built into Chromebooks that allows you to create a recover disk using a USB drive that allows you to quickly restore your computer. Like a Powerwash, when you use the recovery drive to restore, you will wipe the data stored on it and it will return it back to a factory default. But that’s okay. Remember that Chrome OS leverage the cloud for storage and unless you have some local files like pictures or files you’ve not sync’d to your Google Drive, you shouldn’t loose any data.
In this How To, I’m going to walk you step-by-step through the process of creating a recovery disk for your Chromebook and then walk you through the actual recovery process. Like many things Chrome OS, it is pretty straightforward.
Before getting into the process, make sure that you have an extra USB drive around that is at least 8GB in size. I use a 16GB PNY USB Drive for my Acer Chromebook 14 and it works great (and it’s cheap).
Creating a Chromebook Recovery Disk
First, make sure that you have any data that is on the USB drive you are going to be using backed up. The process of creating the recovery drive will format the USB drive you are using. Second, insert the USB drive into one of the USB ports on your Chromebook.
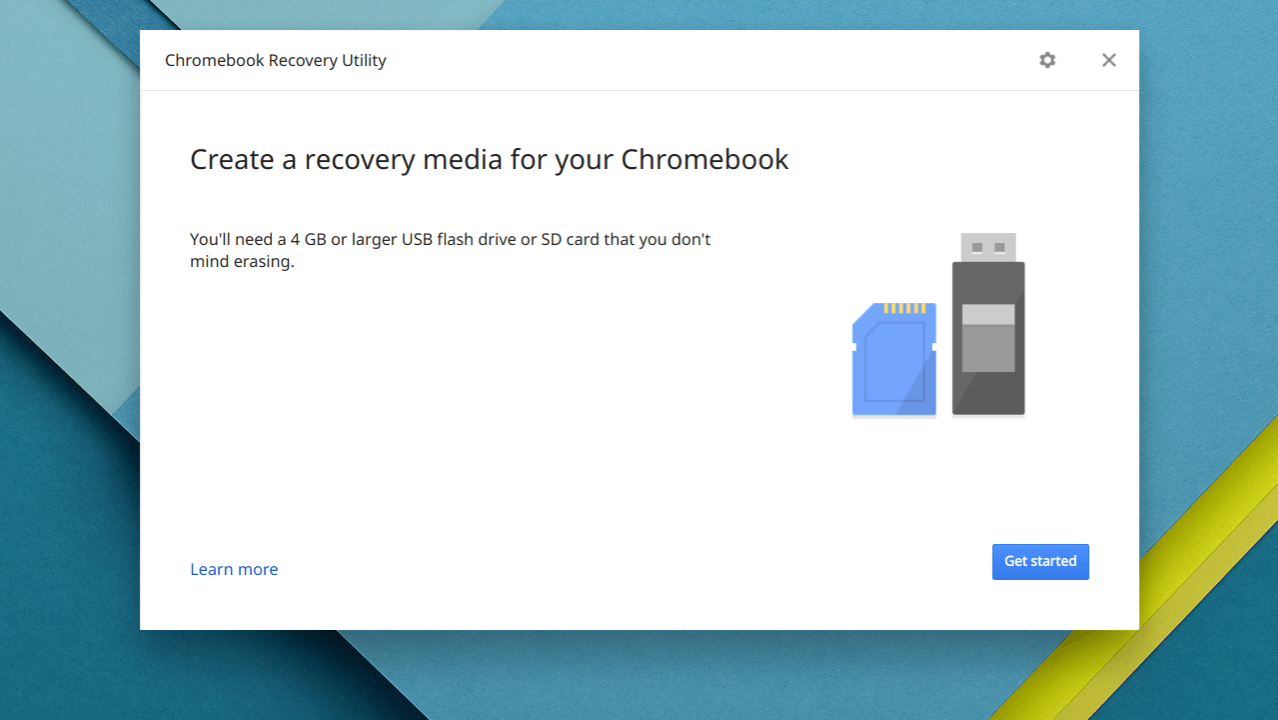
Next, open up your App drawer and find the Recovery tool (or you can just search for Recovery. This will bring up the introductory dialog you see below where you will need to click Get Started.
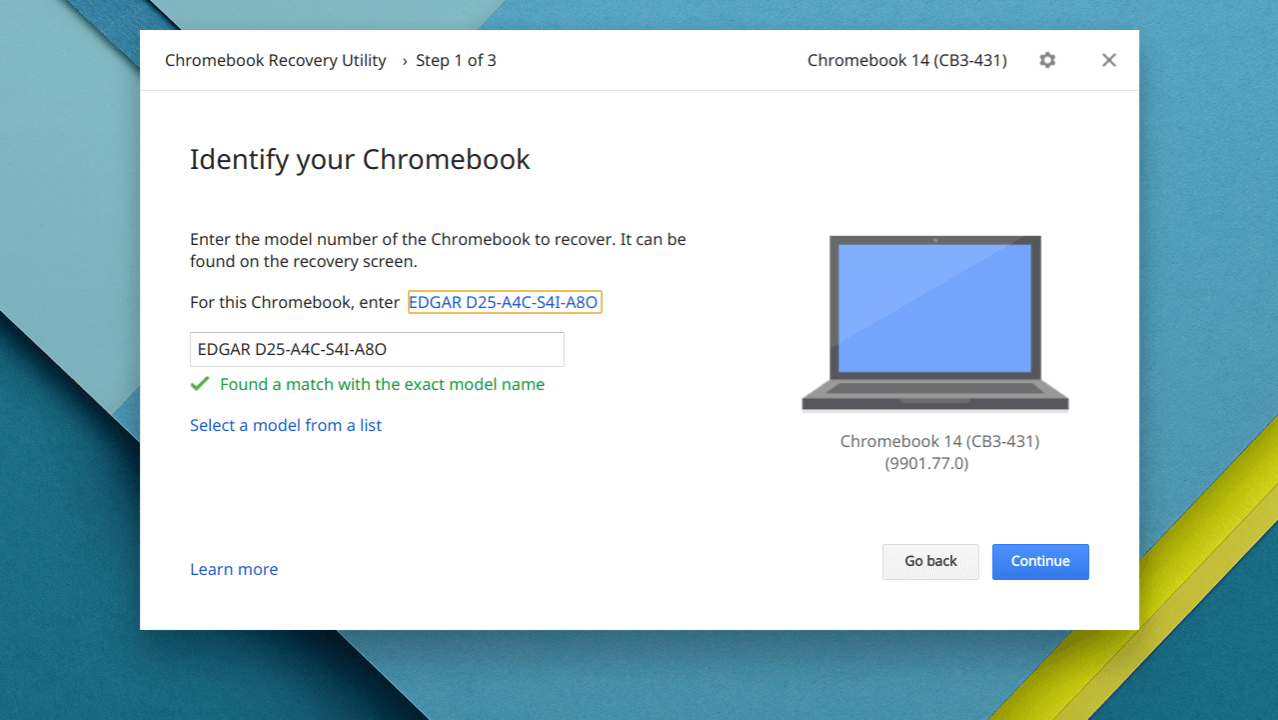
Step 2 is identifying your Chromebook against the list of known Chrome devices available. You’ll note that the name of your particular Chromebook appears in the upper-right corner. You’ll also notice in the dialog area of the screen that you are prompted “for this Chromebook, enter XXX-XXX-XXX”. Where the XXX’s are will be the code name or product name of your device. This is different than the marketing name of your Chromebook so don’t panic. Note in the screenshot below that my Acer Chromebook 14 is listed as “Edgar”. The name of your Chromebook will appear as blue hyperlink. Click it the name will automatically populate the dialog box where you are to type in the name of your device.
If by chance the code name of your device is not listed, don’t panic. Just type in the name of your device in the dialog box and it will sort out on the back end.
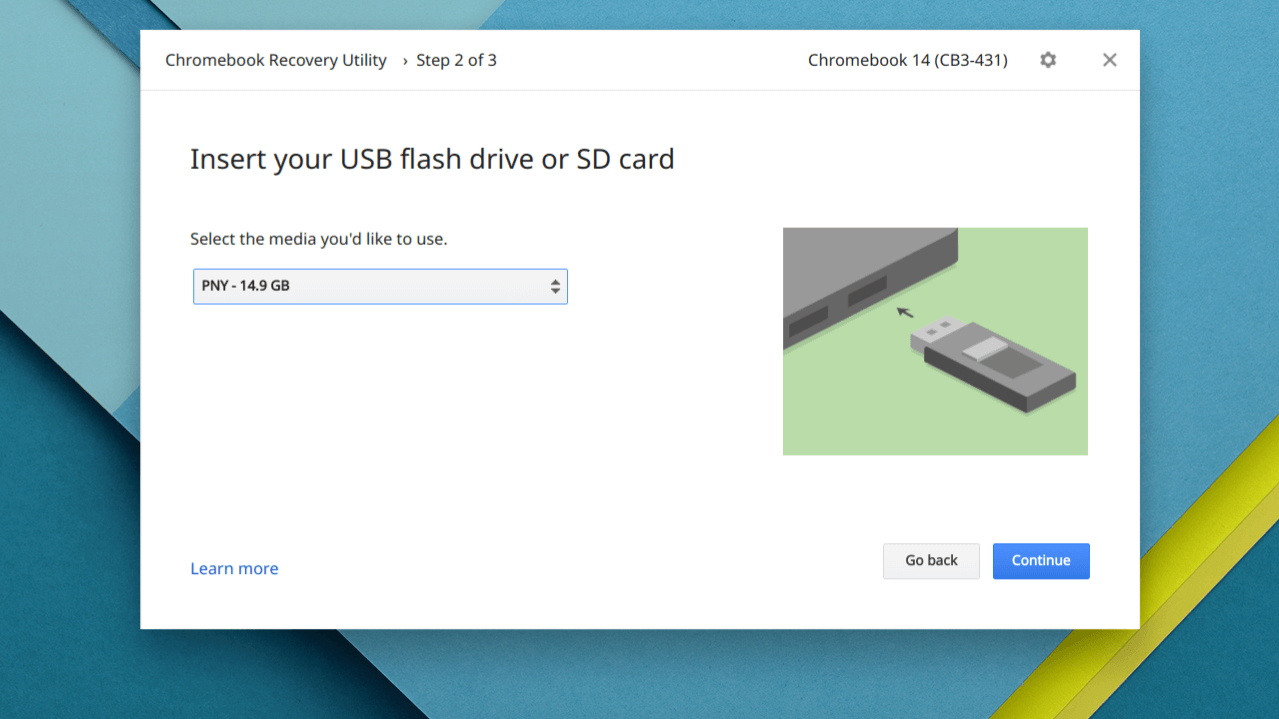
The next step is identifying your USB drive which is going to be used to create the recovery drive. If you plugged the drive in at the beginning of this How To, you should see the drive populated in the drop-down box. If you didn’t, plug it in and it should auto-populate. If you have more than one USB drive plugged in, use the drop-down box to select the drive you want to use. Remember, you are about to format this drive so anything you have on it will be deleted. Make sure you’ve backed them up.
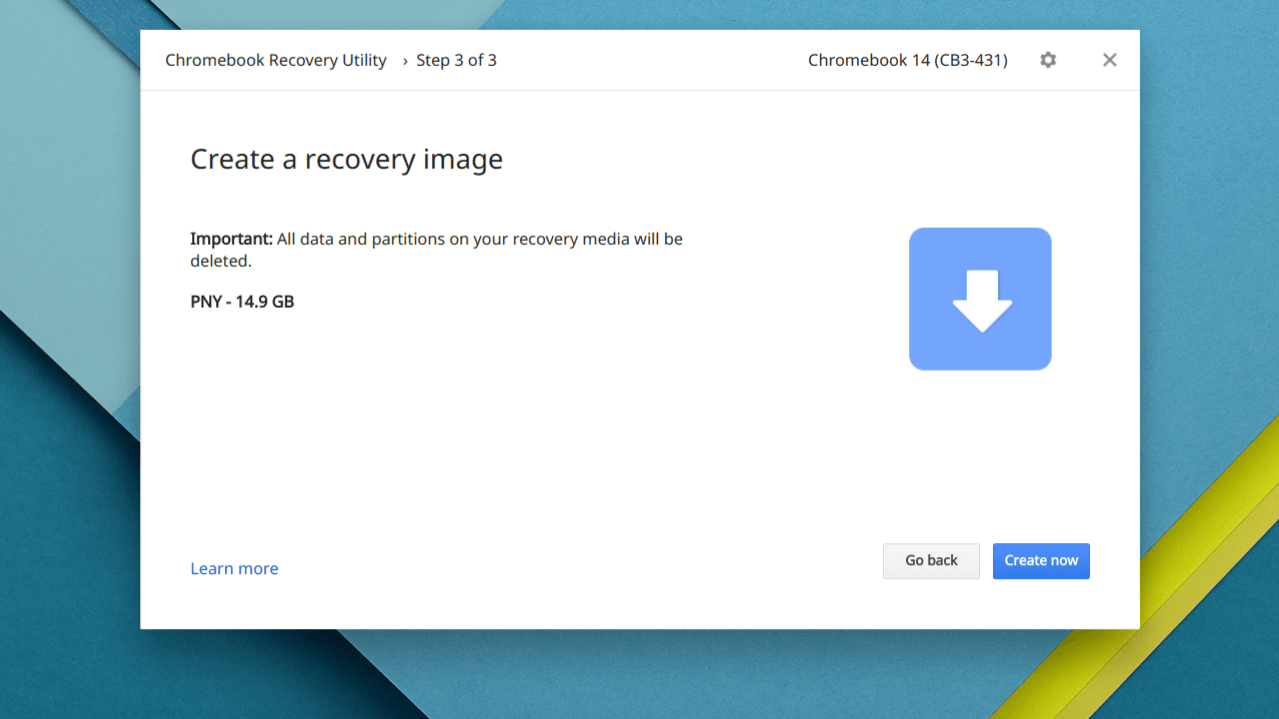
After clicking Continue, you will be prompted to download a copy of Chrome OS for your particular Chromebook and to create the recovery drive. You are reminded a final time that the drive will be formatted and any data on it deleted. When you are ready, tap the Create Now button.
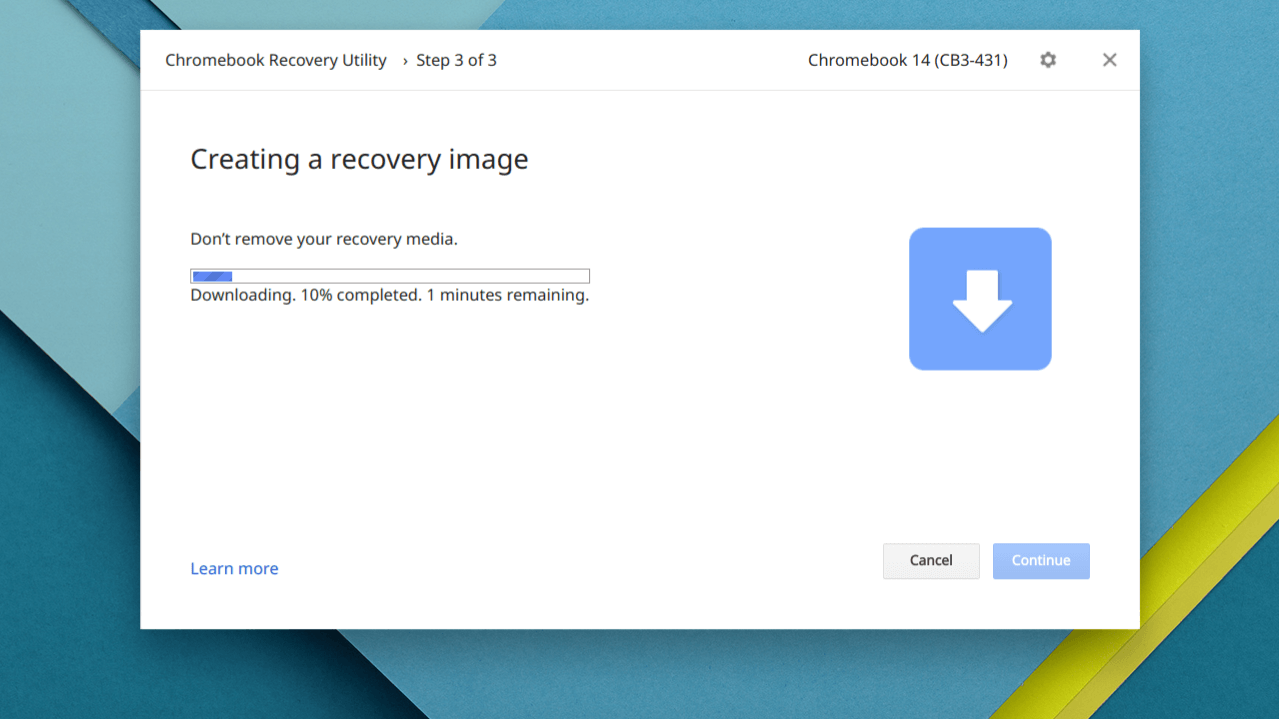
At this point, you are done with the process. Your Chromebook will download a fresh factory image of Chrome OS for your particular Chromebook and will write it to the drive. This can take from 5-15 minutes depending on the speed and your particular model of Chromebook but, as you see below, you are given a progress bar and timer so you can see how long you have remaining in creating the drive.
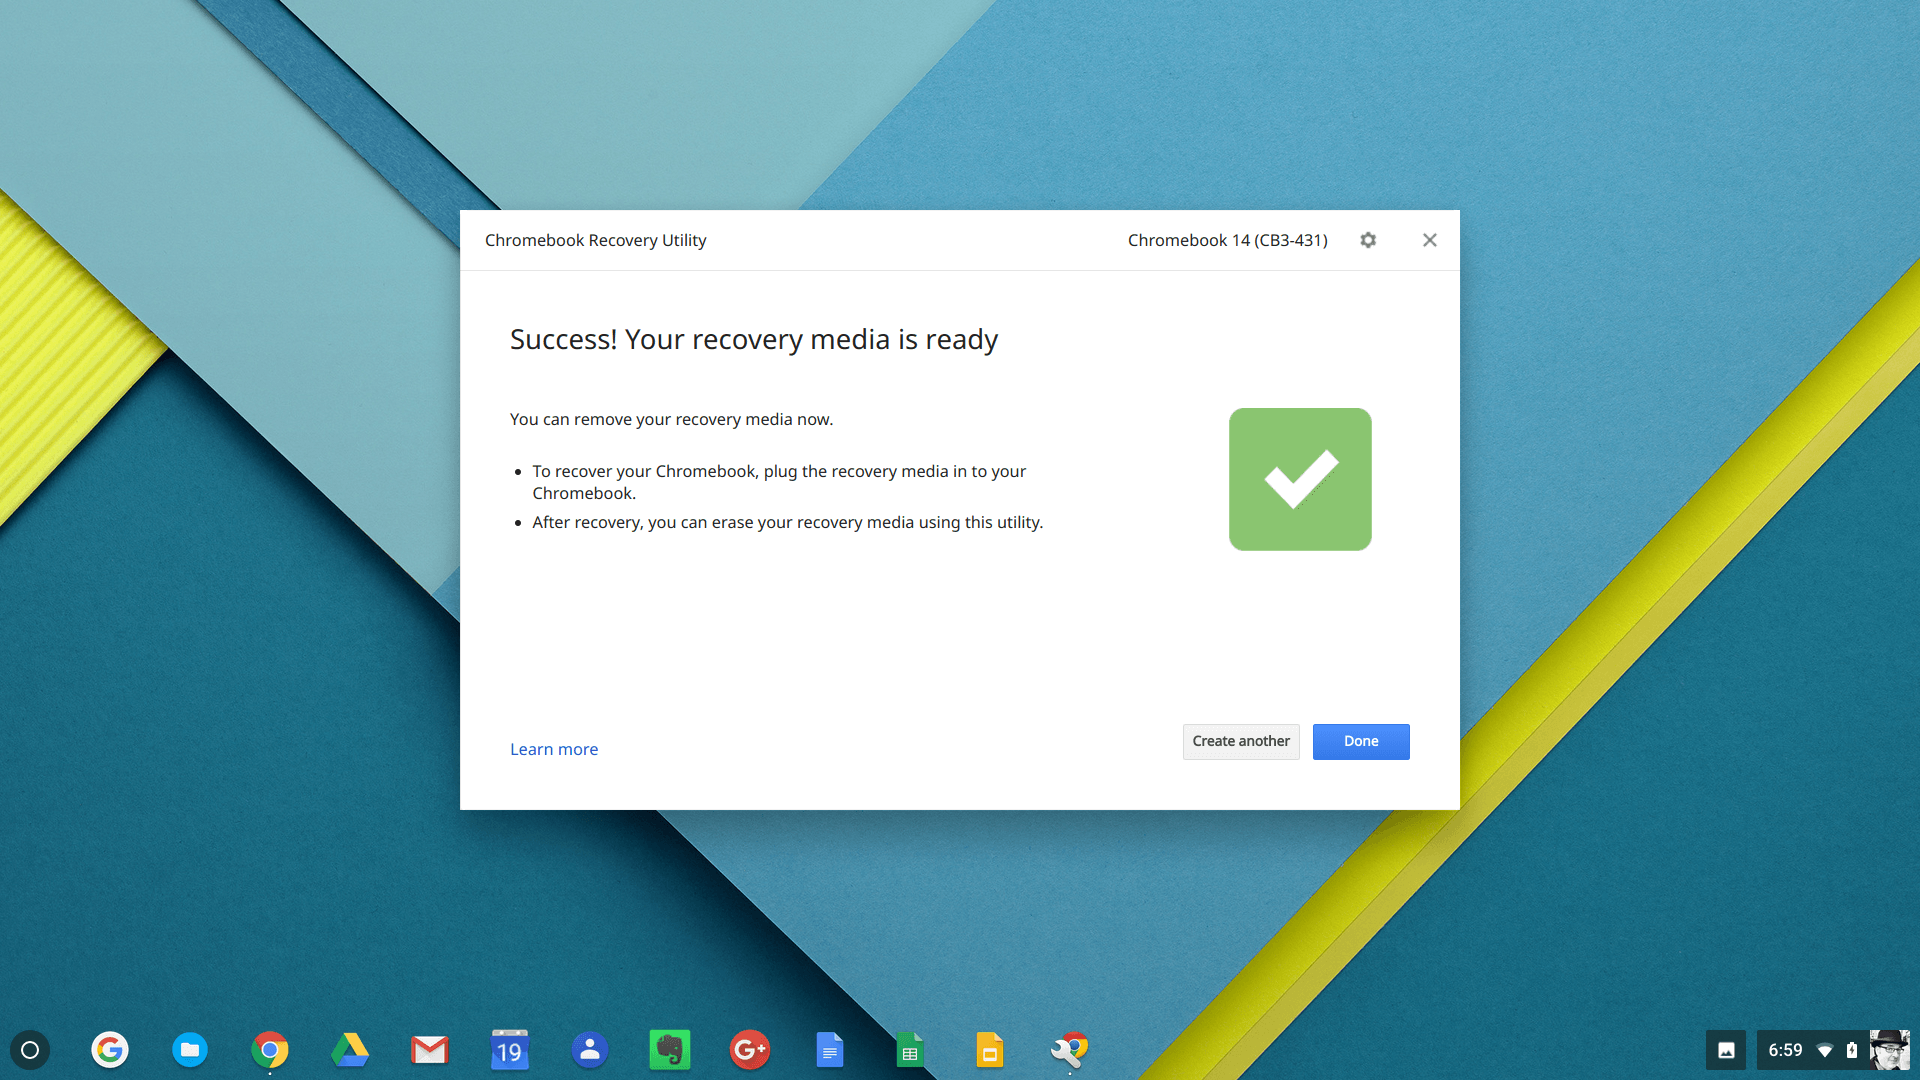
Once the recovery drive is completed, you will get a “Success!” page that has a green checkbox on it. This is when you know your drive has been created. You can close out of the Recovery tool and eject the USB drive for safe keeping.
How to Use Your Recovery Drive
Now that you have created a recovery drive for your Chromebook, now it is a matter of knowing when to use it. Before I get there, I would suggest that you keep the recovery drive in a safe place where you can access it should you need it. I personally have two recovery drives created: One stays at home in my desk while the other stays in my travel backpack with me on the road.
The only time that you should ever need to use your recovery drive is if Chrome OS on your Chromebook has corrupted. How will you know it has? You will get a white screen with the following text: Chrome OS is missing or damaged. What has happened, for some reason, is that your Chromebook cannot find Chrome OS or cannot start it. If you see that screen, then it is a matter of getting your Chromebook into recover mode so you can actually use the recover drive that you have created.
To do this, press and hold the ESC and the Refresh key (the one just about the 3 and 4 on your keyboard) and then press the Power button. Let go of the Power button but continue to hold the Esc and Refresh keys down until you see a message on the screen showing that you are in recovery mode.
Once in recovery mode, you will be prompted to insert your recover drive into a USB port and simply follow the instructions and your Chromebook will be restored. The process will take 5-10 minutes and once you are recovered, you will be brought back to the Chrome OS setup screen so you can setup your Chromebook as if it were new.
As I said earlier in this How To, the odds of you needing to recover your Chromebook like this are pretty slim but it can happen. Having a recovery drive handy can save you a lot of time and grief, especially if your Chromebook is your only device available to you at the time.
For more How To’s, be sure to head over to the Tips & Tricks pages here on the site.
No Responses